Skip to content
Fence Staining & Sealing in Gardner, KS — DIY or Hire It Out, Straight

Fence Staining & Sealing in Gardner, KS — DIY or Hire It Out, Straight

In a value town like Gardner, the honest question is whether to stain the fence yourself or hire it out. You can do it — but there are five or six specific steps where a Saturday with a roller goes wrong on a long, open-lot run. RKC Wood Care Pros lays out the real DIY-vs-pro math and does the parts that are hard to match by hand: the brightening a hose can't do, one even application rate down a 200-foot run, deeper pigment on the open-Kansas sun faces, and a logged re-coat schedule. Penetrating finishes that fade instead of peeling. 4.9 stars from 85 Google reviews. Call (913) 286-1091 for a free walk and quote.

★★★★★
4.9
from 85 reviews
Licensed
& Insured · KS + MO
400+
fences installed
A+ BBB Rated Kansas City Fence Contractor Honest DIY-vs-Pro Answers 2-Year Cedar / 3-Year Pine Cycle
View stain options in our catalog ↓

WHY GARDNER HOMEOWNERS STAIN WITH RKC

The Honest DIY-vs-Pro Math

Gardner is a value market, and value markets ask the fair question: why not just stain it myself? We give you a straight answer instead of a sales pitch — you can, and here are the specific steps where a DIY pass tends to fail on a long, open Gardner run. Real prep, reading the moisture, the right product, one even rate down the run, weighting the sun faces, and a re-coat schedule. Miss those and a homemade coat fails in a season and costs more to redo. We do the hard parts and log it, so the coat holds and the next one's on the calendar.

1

A straight answer, not a pitch

Staining a fence is a doable DIY project, and we'll say so. What we also say is where it tends to go wrong on a long open Gardner run — prep, moisture, product, even application, the sun faces, and keeping a schedule. If your run is short and simple, we'll tell you it's a reasonable weekend job. If it's a full subdivision perimeter, we'll show you why hiring it out usually costs less than redoing a failed coat.
2

The prep a hose can't do

The number-one reason a DIY coat flakes off is prep — a garden-hose rinse lifts loose dirt but not the oxidized gray layer bonded to the wood. We soft-wash and brighten with an oxalic treatment that neutralizes the gray back to one true tone, so the stain bonds into sound fiber instead of sitting on a dead surface. That single step is most of the difference between a coat that lasts two years and one that flakes in a season.

3

One even rate down the run

Gardner's flat subdivisions make for long, straight runs, and holding one even stain rate across 200 feet by hand is the hardest thing to do with a brush or roller. Our spray-and-back-brush pair keeps one rate the whole length — a sprayer moving the finish, a second hand driving it into the grain right behind. That's why our runs read uniform from the street while a hand-rolled coat often goes patchy on a long open lot.

4

A finish that fades, never peels

The product choice trips up a lot of DIY jobs. A film-forming deck stain looks bold a season, then peels on a vertical fence — worse in the constant Kansas wind. We lay penetrating semi-transparents and solids that soak into the grain and wear by fading, so re-coating is a wash and a fresh coat, never a scrape. If your DIY coat is already peeling, that's a product-and-prep fix, not a spent fence.

GARDNER LOCAL CONDITIONS

Why Staining in Gardner Is a DIY-or-Not Question

Three local factors shape stain work in Gardner: a value market that honestly weighs doing it itself, the flat long runs that make even application the craft, and the open-Kansas sun and wind that punish a thin or wrong coat. This is a first-time-buyer, cost-conscious town where the fence is often a full subdivision perimeter. Same crew, same standard: give you the honest DIY math, do the prep a hose can't, hold one even rate down the run, and log the schedule.

1

A value market that weighs doing it itself

Gardner is a value-conscious, largely first-time-buyer market — the same crowd that honestly weighs cedar against vinyl weighs staining the fence themselves against hiring it out. That's a fair question, and it deserves a straight answer: staining a fence is doable as a DIY project, but there are five or six specific places where a Saturday with a roller goes wrong and a pro pass doesn't. Prep, moisture, product, even application, the sun faces, and a re-coat schedule — miss those and the coat you did yourself fails in a season and costs more to redo than it would have to hire the first time. We lay it all out so you can decide with eyes open.

2

Flat, long runs make even application the craft

Gardner's subdivisions are carved from flat farmland, which makes for long, straight, efficient fence runs — and long straight runs are exactly where hand-application struggles. Holding one even stain rate with a brush or roller across a 200- or 300-foot run is hard; the coat goes on heavier here, thinner there, and reads blotchy from the street. Our spray-and-back-brush pair — a sprayer moving the finish, a second hand driving it into the grain right behind — holds one rate the whole length. On a short garden fence the difference is small; on a full Gardner perimeter it's the whole look of the finished job.

3

Open-Kansas sun and wind punish a thin coat

Out here the lots are open to the sun and the Kansas wind, with few mature trees to break either. That exposure is hard on a finish, and it's unforgiving of a thin or wrong one — a bare or under-pigmented coat bleaches fast on the west and south faces, and a film-forming product lifts in the constant wind. It's the reason the product choice and the sun-face weighting matter so much here, and the reason a DIY coat that skipped them shows its age within a year. We weight deeper pigment onto the exposed faces and lay only penetrating finishes, so the coat wears by fading evenly instead of failing early.

The Gardner fences we've stained and brought back run from the newer subdivisions carved out along Moonlight Road and the US-56 corridor to the older value lots closer to Main Street and the Gardner Lake side of town — fresh subdivision cedar, treated-pine perimeter runs, sun-silvered older fences, and DIY coats that peeled or went blotchy. Each one gets the honest read up front, the prep a hose can't do, one even rate down the run, and the same matched penetrating coat — deeper on the sun faces — to close. A fence another company built, or one you started yourself, earns the identical treatment; a coat done right has never cared whose hands started it.

DIY VS A PRO PASS

Where a DIY Coat Goes Wrong — And What a Pro Pass Does

Staining a Gardner fence is doable yourself, but a handful of specific steps decide whether the coat lasts two years or fails in a season. Here's each step laid out side by side — what a typical DIY approach does, what our pro pass does differently, and where the cost actually lands. The short version: on a short simple run the gap is small, but on a long open Gardner perimeter, the prep, the even application, and the schedule are where a homemade coat usually falls short.

The step Doing it yourself What our pass does Where the cost lands
Cleaning and prep A garden-hose rinse that lifts loose dirt but not the mildew or the oxidized gray layer bonded to the wood A soft wash plus an oxalic brightener that neutralizes the gray back to one true tone so the stain bonds instead of sitting on a dead surface Skipping real prep is the number-one reason a DIY coat flakes off in a season
Reading the moisture Staining whenever the weekend is free — often over wood that's still holding water inside after Kansas rain or dew A meter reading through the board, not just the surface, so the finish keys into dry grain instead of beading off damp wood A coat over wet wood is wasted product; the fence looks done and fails within months
Picking the product Whatever the big-box shelf has — sometimes a film-forming deck stain that peels on a vertical fence A penetrating semi-transparent or solid matched to the wood, that fades instead of peeling and re-coats without scraping The wrong product is why some DIY fences need to be stripped before they can ever be stained right
Applying it evenly A brush or roller by hand — hard to hold one rate across a long, straight Gardner run, so it goes on blotchy A sprayer moving the finish with a second hand back-brushing it in, holding one application rate the whole length Uneven application is what makes a DIY fence read patchy on a 200-foot subdivision run
Handling the sun faces One coat, same everywhere — so the open-Kansas west and south sides bleach out ahead of the rest A touch more pigment carried onto the exposed faces so the whole fence reaches its next coat at one even tone Without it, the sunny side goes silver first and the fence looks half-faded within a year
The re-coat schedule No record — the fence is remembered only after it's already gone gray and needs a full restoration again The exact product, color, and next date logged, with a reminder from us before it's due Staying on a 2-year schedule is far cheaper than repeated brighten-and-restore cycles

The line that runs down the table: the value in a pro pass isn't the stain itself — it's the prep, the even application, and the schedule that keep the coat from failing early and dropping you into the expensive restore-it-again cycle. Want the honest read on your own run? A free staining walk gives you the DIY math straight, or start with a new Gardner wood fence from the same crew that will time and lay its first coat.

STAIN SERVICES

First Coats, Re-Stains & Rescues — Every Gardner Scenario

The scope your Gardner fence lands in comes straight out of the read — fresh subdivision cedar timed for its first coat, cedar due for a re-stain, cured treated pine ready for its oil, or a run that went gray or a DIY coat that peeled and needs bringing back. Below are the four we run across Gardner, what each one suits, and honest per-foot numbers. Colors are yours to choose; what stays fixed is the sequence — real prep, a metered dry window, one even penetrating coat with a spray-and-back-brush pair, all by our own crew.

New-Cedar First Coat by RKC Wood Care Pros in Gardner, KS

New-Cedar First Coat

For the new Gardner subdivisions · timed to the cure

Gardner runs on new construction, so a lot of the cedar here is fresh out of the subdivision. The first coat is where a DIY plan most often goes wrong — homeowners stain it the week it goes up, before the wood has cured. Fresh cedar needs about a month for its moisture to fall so a penetrating finish keys in instead of beading off; treated pine needs closer to a season. We time that first coat to the cure and a good window, seal it against the open-Kansas sun and wind from the start, and log it so the re-coat matches. On our own installs it's often folded into the price.

  • Price: $3–6 / LF · typically $450–900 per 150 LF
  • Typical use: Fresh cedar and pine across the newer subdivisions, the opening coat after any RKC install
Cedar Re-Stain by RKC Wood Care Pros in Gardner, KS

Cedar Re-Stain

The 2-year cycle, done right

A cedar fence on its cycle needs a coat about every two years to keep reading like cedar instead of drifting to silver. This is the job people weigh doing themselves — and it's doable, but it's also where the pro pass earns its keep on a long Gardner run: the soft wash, the meter check, one steady application rate down 200 feet, and deeper pigment on the sun faces. On the day it's a wash to lift oxidation, a metered dry window, then the matched color driven into both faces. We log your product and color so the next one matches board for board.

  • Price: $4–8 / LF · typically $600–1,200 per 150 LF
  • Typical use: Cedar dog-ear, picket, and long privacy runs across Gardner's flat subdivision lots
Pressure-Treated Pine Re-Stain by RKC Wood Care Pros in Gardner, KS

Pressure-Treated Pine Re-Stain

The value wood on long perimeters

Treated pine shows up on the big perimeter runs and the value builds around Gardner, and it needs staining more than cedar does, not less — bare pine grays and checks faster in the open sun. It runs on a longer clock, though: the factory treatment has to cure, about three months from a new install, before an oil-based semi-transparent will penetrate the dense treated fiber. A waterborne would only skin over. Any board still tinged green or blackened gets a brightener first. We meter it and won't rush a coat onto pine that isn't ready yet.

  • Price: $3–7 / LF · typically $450–1,050 per 150 LF
  • Typical use: Treated-pine perimeter and boundary runs, value installs, economy fences carried over from other builders
Gray-Fence Restoration by RKC Wood Care Pros in Gardner, KS

Gray-Fence Restoration

Bringing a weathered — or botched-DIY — run back

Two kinds of Gardner fence land here: the one left unsealed a few open-Kansas summers until it went silver, and the one a homeowner stained themselves with the wrong product that's now peeling. Both are usually salvageable. We strip any failed finish, bring the run back to one tone with an oxalic brightener, wash and hard-dry it, then lay one penetrating coat that fades instead of peeling. The gray is almost always a thin skin over sound wood — and a peeling DIY coat is a prep problem, not a spent fence. We probe the posts first on any older run before finishing.

  • Price: $6–12 / LF · typically $900–1,800 per 150 LF
  • Typical use: Silvered older cedar and pine, homes just changed hands, and DIY jobs that peeled or went blotchy
Cedar and pine fence stain pricing — Gardner, KS — RKC Wood Care Pros

GARDNER STAIN PRICING

What Fence Staining Costs in Gardner

What a Gardner job costs rides on the wood and the prep — a routine re-stain on sound cedar is one number, a sun-silvered run or a peeling DIY coat that needs stripping runs more. The value math is simple: staying on schedule keeps you in the cheaper re-coat lane. Each quote folds in the prep, the wash, the brighten where needed, the metered dry window, the matched penetrating family with deeper pigment on the sun faces, the spray-and-back-brush pass by our own two-person crew, and a written next date. The three setups we price most often for Gardner homes are below.

Cedar Re-Stain

$4–8 / LF

wash + penetrating stain

The 2-year coat done right — soft wash, meter check, one steady rate down the run with deeper pigment on the sun faces, and your next date in writing. Most 150 LF Gardner cedar runs settle near $600–1,200.

New / Pine First Coat

$3–7 / LF

cure-timed penetrating coat

The opening coat on new subdivision cedar or cured treated pine, staged to the wood and a good window, tone proofed on a hidden board. A 150 LF new Gardner run generally lands at $450–1,050, often folded into our install price.

Gray / DIY-Rescue Restoration

$6–12 / LF

strip · brighten · stain

Failed or peeling finish stripped, the run brightened to one tone, washes, a post check, then a penetrating coat. A weathered or botched-DIY 150 LF run is usually $900–1,800, quoted from how far it's gone.

A restoration number comes only after an on-site look at how far the sun — or a failed DIY coat — has taken the finish, and whether any posts need resetting first. That check is what stops you paying restoration rates on a fence that only wanted a routine coat. Every Gardner estimate is free, written, and itemized — call (913) 286-1091 or set up a walk. While the crew's on site they can flag any Gardner fence repair — a wind-loosened or leaning post — that should be handled before staining protects the run — one trip, same hands.

OUR STAIN PROCESS

How a Gardner Stain Job Comes Together

Four steps from the phone call to the final walk. Most Gardner stain jobs span 2 to 4 days — and each step is one of the places a DIY pass tends to fall short. The stain itself is usually a single day on site for a standard run. The rest of the clock is the honest read, the real prep, and the metered dry window the open Kansas air complicates. Here's what each step looks like on a Gardner fence.

1

Walk it, and give you the honest DIY math

Step one on a Gardner fence is a straight estimate — and if you're weighing doing it yourself, a straight read on whether that makes sense for your run. Josh or a lead measures the footage, identifies the wood, takes a moisture reading, checks the exposure, and on older fences probes the posts. Then we tell you plainly where a DIY pass tends to fall short on a run like yours, and where hiring it out actually saves money over redoing a failed coat. The estimate's free and itemized, and we brush a tone sample on a hidden board so you judge the color on your own wood.

2

Do the prep a hose can't

This is the step most DIY jobs skip and most failures trace back to. A run due on schedule gets a soft wash to lift oxidation and mildew; a sun-silvered older run takes an oxalic brightener that neutralizes the gray to one true tone; a peeling DIY coat or any failed film gets stripped. Then the meter goes on the wood — because in the open Kansas air a surface can read dry while the core still holds water, and a coat over damp wood is exactly the wasted product we're helping you avoid. We wait for a true dry reading through the board before a drop of stain goes on.

3

Lay one even coat, weight the sun side

Surface clean and dry, we load the matched family and put it on the way that holds one rate over a long Gardner run: a sprayer moving the finish, a second hand right behind back-brushing it into the grain before it sets. On the open lots we carry a touch more pigment onto the south and west faces that take the full sun and wind, so the run reaches its next coat at one even tone instead of the exposed side bleaching ahead. This even-application step is the single hardest thing to match by hand, and it's most of what a pro pass buys you on a flat subdivision run.

4

Walk it together, then log the schedule

Last is your eyes alongside ours — a full pass catching any board that reads thin or skipped, touched in before we sign off. Then the finish lands on your file: the date, the wood, the product, the exact color, the footage, and when the next coat is due — two years for cedar, three for pine. That record is the thing a DIY job never keeps, and it's what turns staining from a repeated gray-and-restore scramble into a routine on-schedule coat. Your re-coat matches because we logged it, and the reminder comes from us before the fence ever drifts to silver.

RECENT GARDNER STAIN JOBS

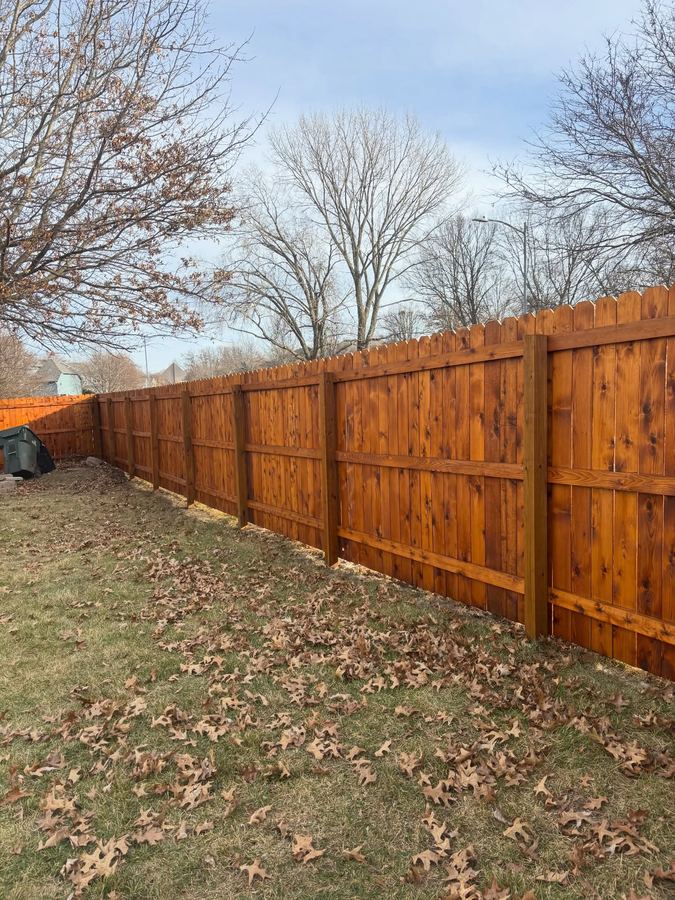
Mahogany stain on a cedar dog-ear fence in Gardner, KS by RKC Wood Care Pros
Cedar Re-Stain · Gardner
Honey stain on a cedar picket fence in Gardner, KS
New-Cedar Coat · Gardner
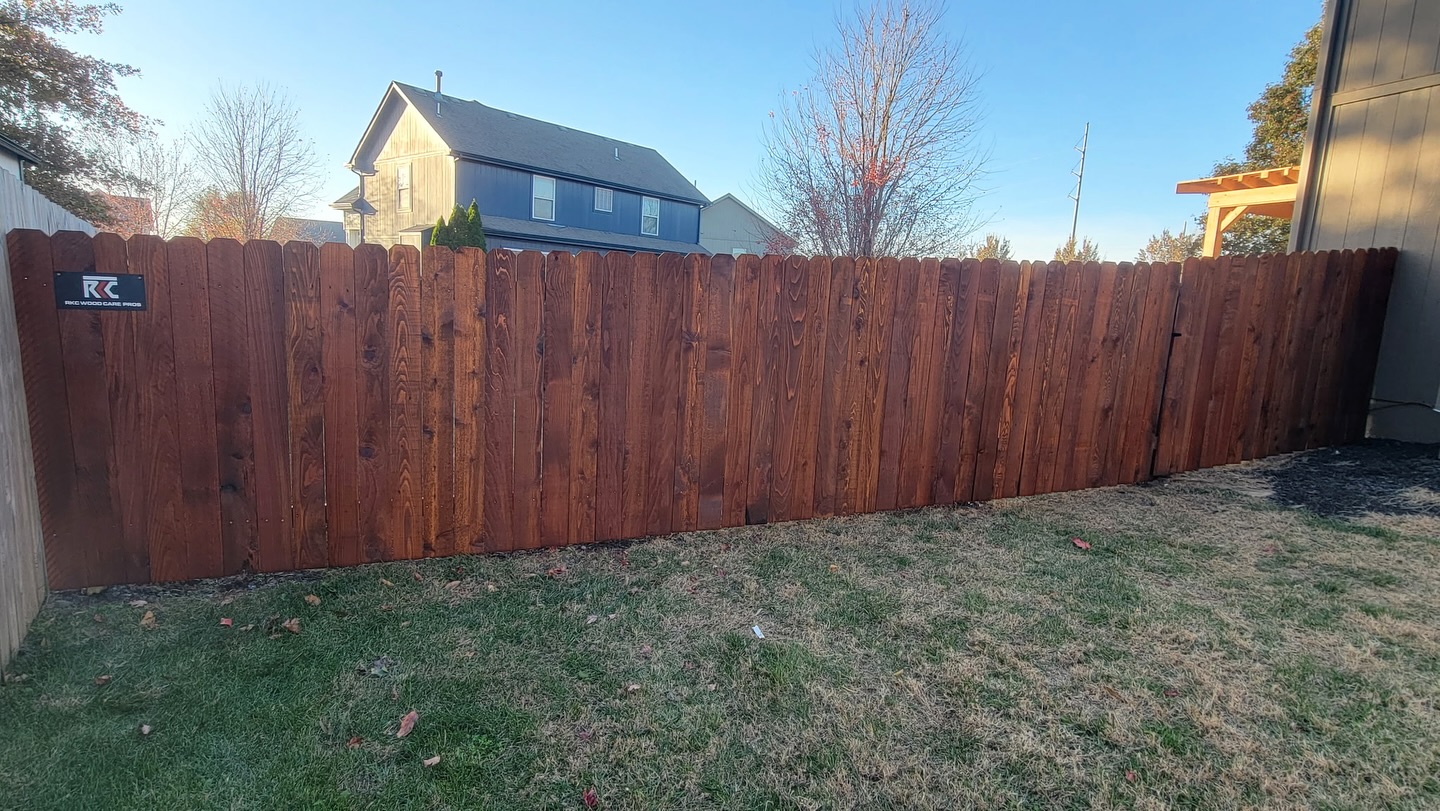
Deep walnut stain on a long cedar run in Gardner, KS
Long-Run Coat · Gardner
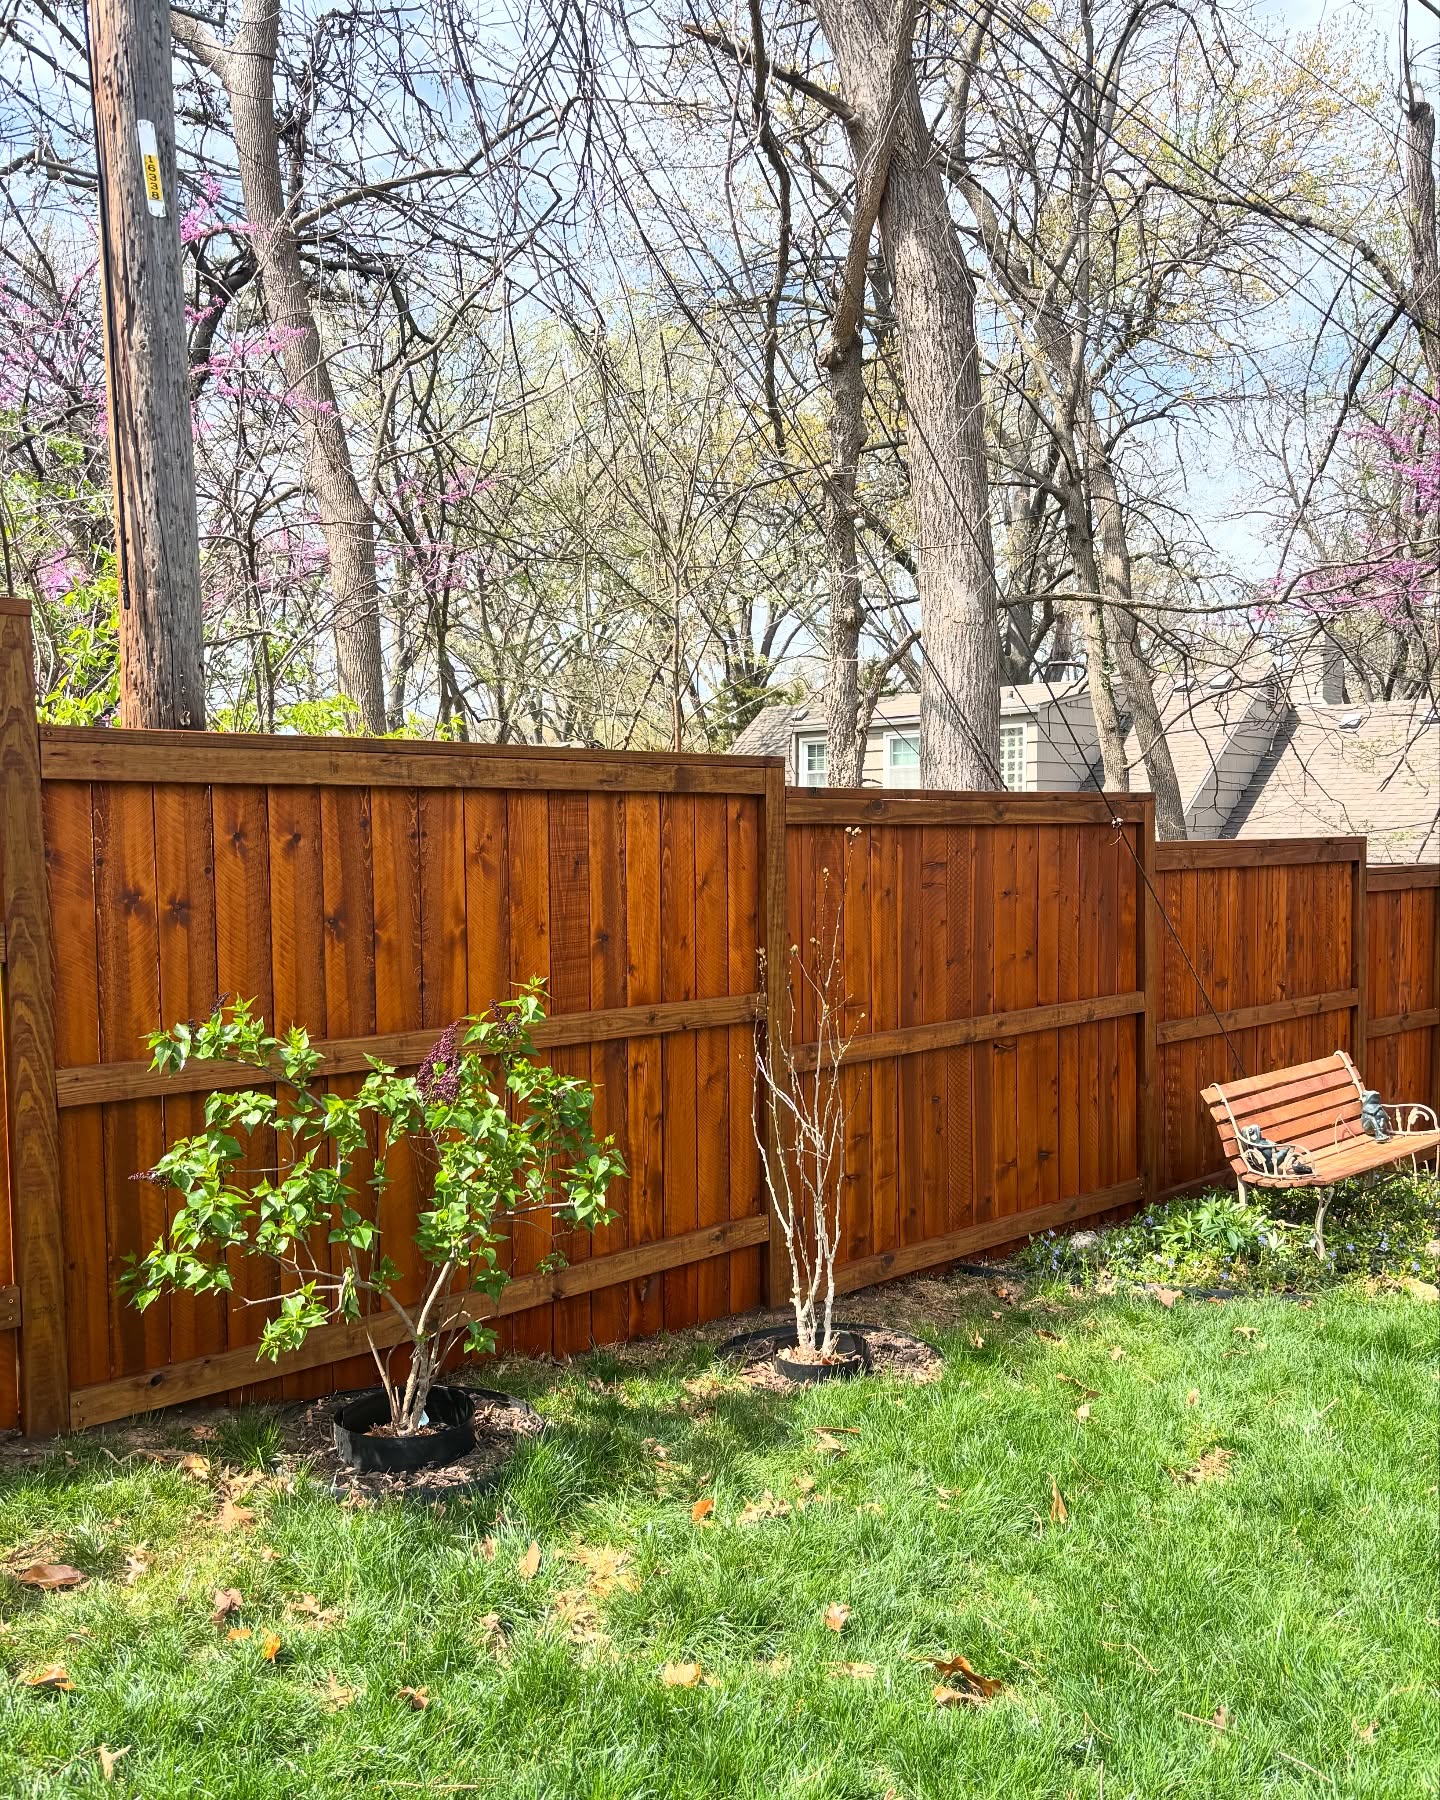
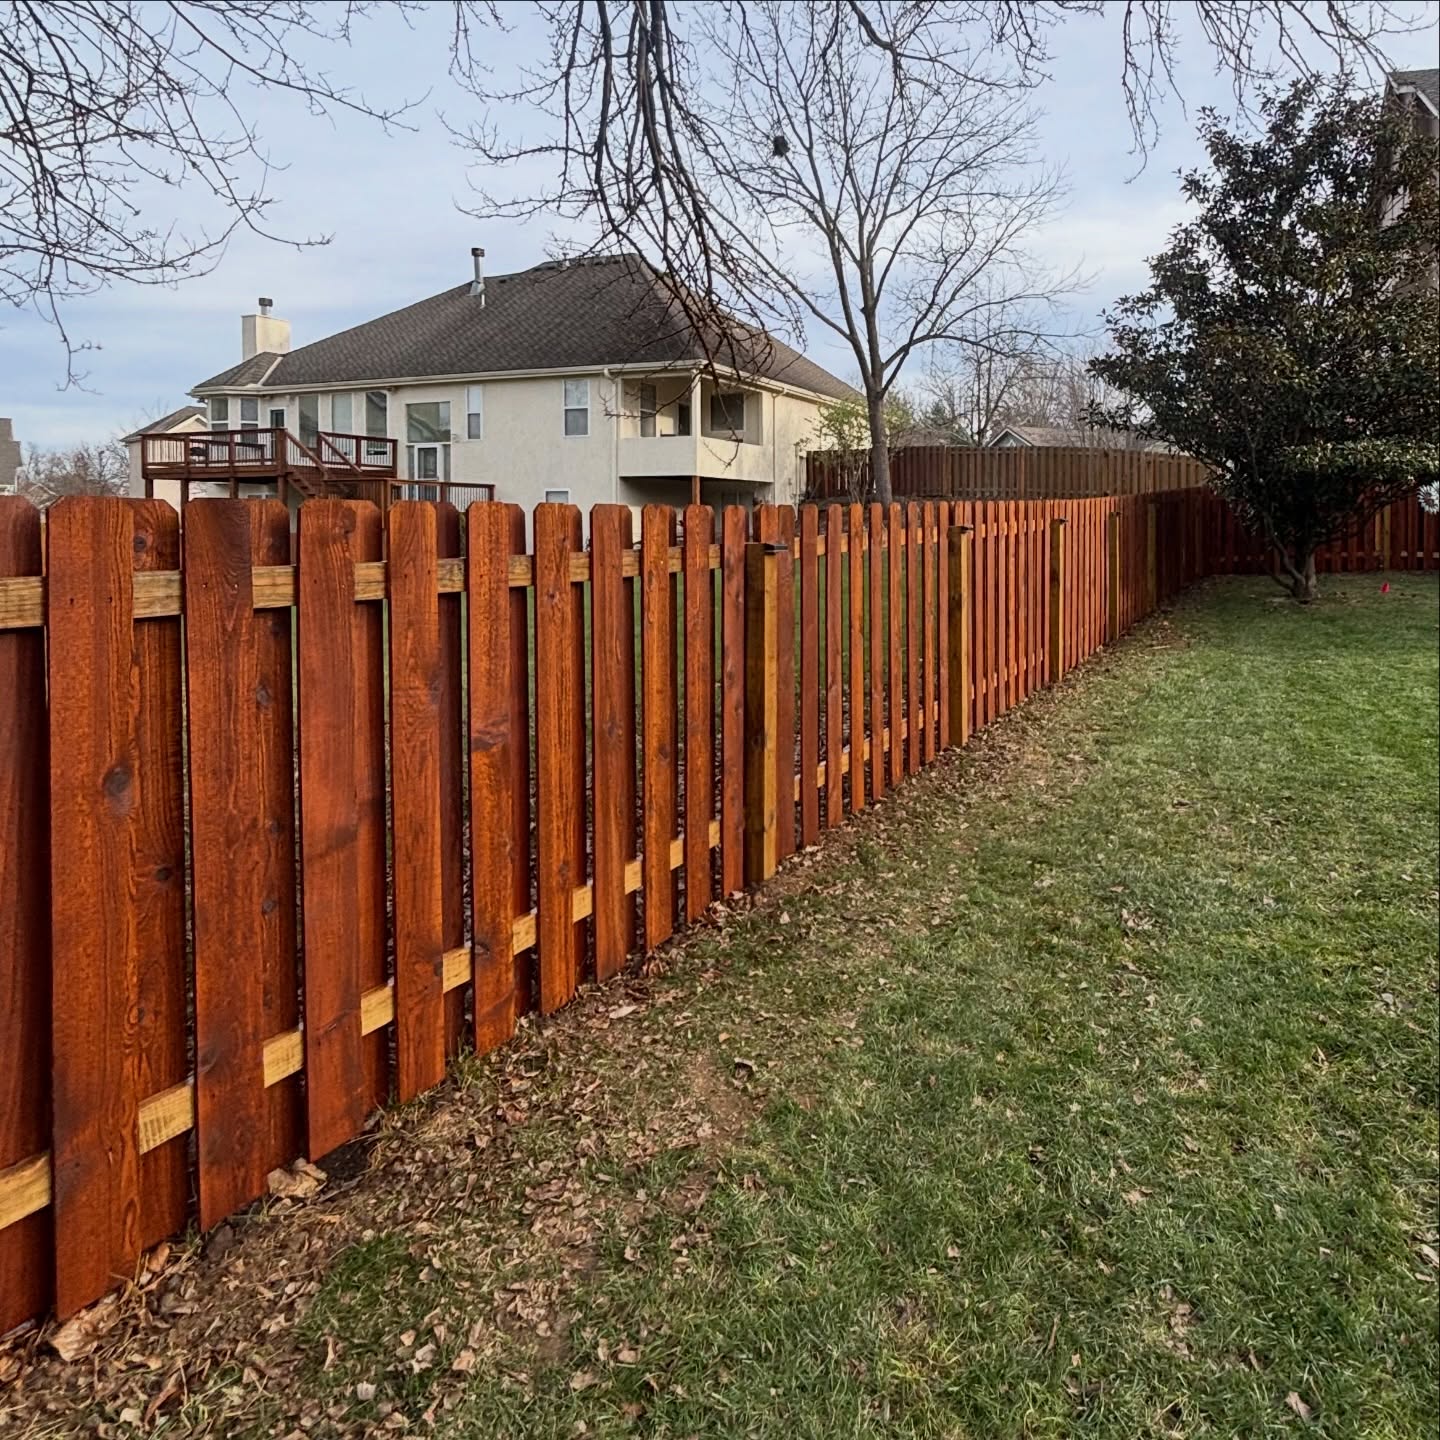
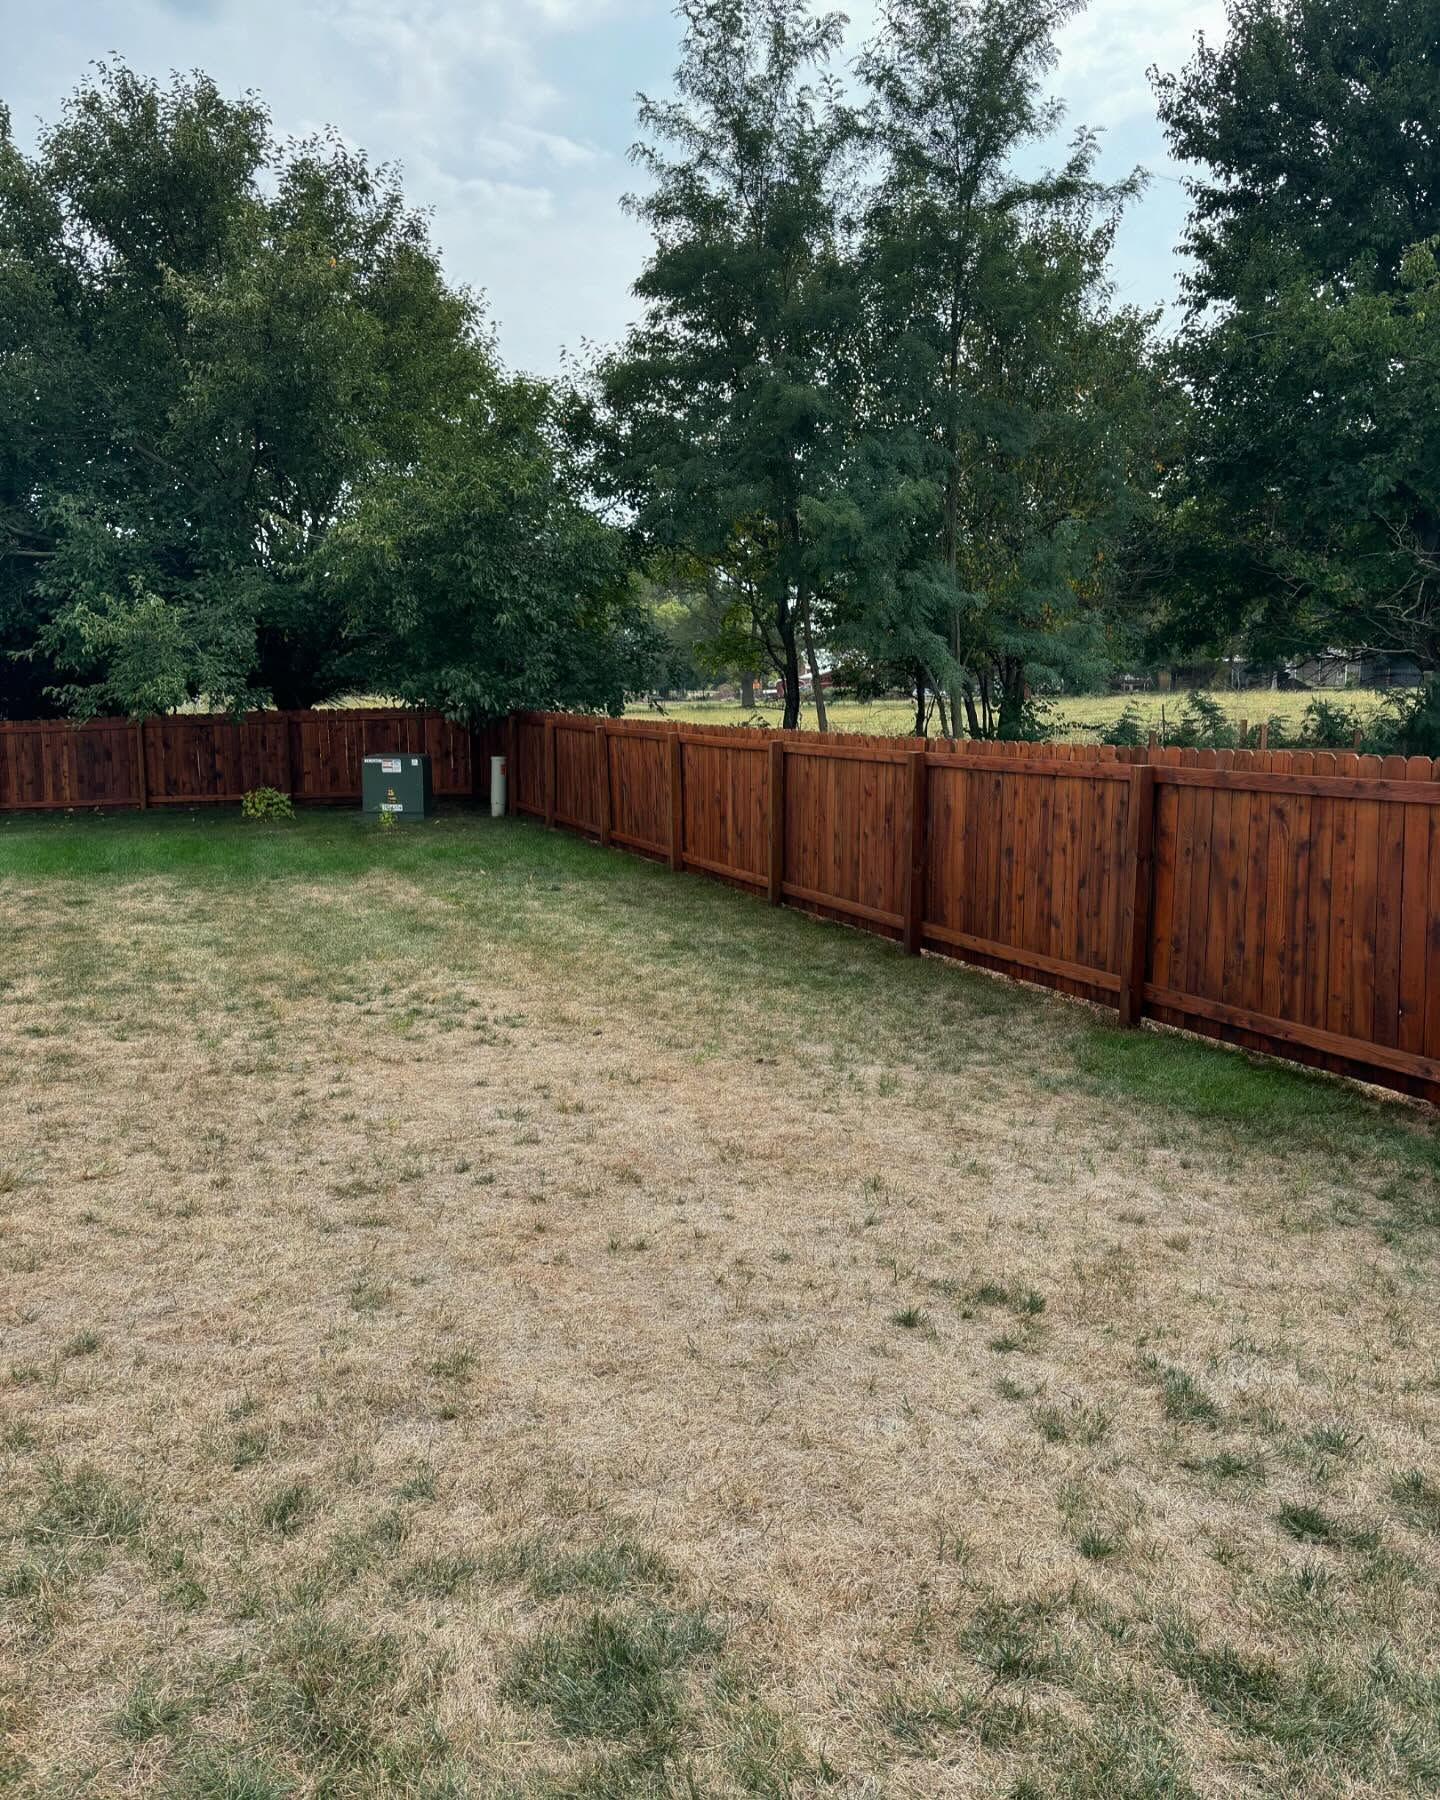
Freshly stained cedar fence on an open Gardner, KS lot
Sun-Faced Run · Gardner

REVIEWS

What Kansas City Homeowners Say About RKC

4.9 ★ · 85 Google reviews

Every review is on our Google Business Profile — read them there, unedited.

Read all 85 reviews on Google

GARDNER STAIN QUESTIONS

Stain Questions Gardner Homeowners Ask Most

Three questions decide most Gardner stain jobs: whether to do it yourself or hire it out, when a new cedar or pine fence should get its first coat, and whether letting it go and restoring later is really cheaper. These are the ones Gardner homeowners raise at the estimate — sorted by topic, each answer tied to the DIY-vs-pro math, the new-wood timing, and the honest cost of staying on schedule. Don't see yours? Call (913) 286-1091 and ask.

Gardner, KS fence staining by RKC Wood Care Pros

DIY vs Hiring It Out

Should I just stain my Gardner fence myself?
It's a fair question in a value market, and the honest answer is: you can, but there are five or six specific places a DIY job tends to fail. Real prep — brightening the gray, not just hosing it — is the big one; skip it and the coat flakes in a season. Then there's reading the moisture, picking a penetrating product instead of a film that peels, holding one even rate across a long run, weighting the sun faces, and keeping a re-coat schedule. On a short garden fence, none of that is hard. On a full Gardner subdivision perimeter, missing it usually costs more to redo than hiring it would have. The comparison table above lays out each step side by side so you can decide with eyes open.
I stained my fence myself and it's peeling — can you fix it?
Yes, and it's one of the more common calls we get in Gardner. Peeling is almost always a prep-and-product problem, not a spent fence: either the wood wasn't brightened first so the coat never bonded, or it was a film-forming deck stain that lifts on a vertical fence. We strip the failed finish, bring the run back to one tone with a brightener, wash and hard-dry it, then lay a penetrating stain that fades instead of peeling. The wood underneath is usually perfectly sound. Once it's redone right and logged onto a schedule, it stops being a recurring headache.
Why did my DIY stain go on blotchy?
Two usual causes, and both are what a pro pass is built to avoid. The first is uneven application — a brush or roller can't hold one stain rate across a long straight Gardner run the way a sprayer with a back-brush behind it can, so it goes heavier in spots and thinner in others. The second is staining over boards that weren't at one tone: a semi-transparent shows everything underneath it, so if the wood was unevenly weathered or still damp in places, the color drinks in blotchy. The fix is to brighten to one true tone, meter for dry wood, then apply at one steady rate — which is exactly the sequence we run.

New Cedar & Pine

I just had a new fence built in Gardner — when should I stain it?
Not right away. Give new cedar about 30 days so its internal moisture falls far enough that a penetrating finish keys into the grain instead of beading off. If it's treated pine — common on the value and perimeter runs here — wait closer to 90 days for the factory treatment to cure, or an oil stain won't penetrate the dense fiber. Staining too soon is the single most common new-fence mistake, and it's a big reason a well-meant DIY first coat fails. We time the coat to the cure and a good window, seal it against the open-Kansas sun from the start, and log it. On our own installs the first coat is often folded into the price.
Does treated pine really need staining?
More than cedar does, honestly. Bare treated pine grays and checks faster than cedar in the open Kansas sun, and on the long perimeter runs it's used for, that shows quickly. The catch is timing: the factory treatment has to cure — about three months from a new install — before an oil-based semi-transparent will penetrate it. Try to coat it too soon and the stain skins over instead of soaking in. Once it's cured and metered dry, an oil stain protects it and keeps it from checking out. We run pine on a roughly 3-year re-coat cycle versus cedar's 2, and log it so you're not guessing.

Cost & Schedule

Isn't it cheaper to just let the fence go and restore it later?
It usually isn't, and that's the trap. Letting a fence go gray means that when you do act, it needs a full restoration — strip, brighten, multiple washes, a post check — which runs $6–12 a foot, versus a routine re-stain at $4–8. Do that cycle repeatedly and you pay restoration rates every time instead of maintenance rates. Staying on a 2-year cedar schedule keeps the fence in the cheaper re-coat lane and stretches its life by years. We log your next date and remind you before it's due, precisely so the fence never falls back into the expensive restore-it-again cycle.
How often will a Gardner fence need re-staining out in the open?
Figure cedar roughly every 2 years and treated pine every 3 — and Gardner's open, sun-and-wind-exposed lots favor the shorter end, because the exposure weathers a finish faster than a sheltered, tree-shaded yard would. A bare or thin coat on an open lot can start bleaching before the two-year mark. Staying on schedule, with deeper pigment on the sun faces, is what keeps it even and keeps you out of the restoration bracket. Your next date goes on the invoice and we circle back when it arrives, so the coat goes on while the fence is still holding color.

OTHER GARDNER FENCE SERVICES

More Fence Services Available in Gardner

Each link below keeps you in Gardner — its own page, with pricing, conditions, and recent job photos tied to this city rather than the metro at large. Weighing a fresh install, a repair, a gate, or one specific material alongside the staining? Here's where each of those picks up.

Ready when you are

Get a free estimate — we usually respond the same day.

Call (913) 286-1091