Skip to content
Fence Staining & Sealing in Blue Springs, MO — Read the Sun, Face by Face

Fence Staining & Sealing in Blue Springs, MO — Read the Sun, Face by Face

A Blue Springs fence rarely grays all at once — the shaded north run silvers while the sunny street side bleaches, and by year four it reads two-toned. That's an exposure problem, not a spent fence. RKC Wood Care Pros grades the fence side by side: deeper pigment onto the south and west faces that take the worst afternoon sun, a mildew-killing wash on the damp shaded runs, and a ground-line probe in the wet-pocket soil before a drop of stain goes on. Penetrating stain that fades instead of peeling, every coat logged, the re-coat date on your invoice. 4.9 stars from 85 Google reviews. Call (913) 286-1091 for a free walk and quote.

★★★★★
4.9
from 85 reviews
Licensed
& Insured · KS + MO
400+
fences installed
A+ BBB Rated Kansas City Fence Contractor Exposure-Mapped Pigment · Spray + Back-Brush 2-Year Cedar / 3-Year PT Cycle
View stain options in our catalog ↓

WHY BLUE SPRINGS HOMEOWNERS STAIN WITH RKC

A Fence That Ages Evenly

The reason a Blue Springs fence looks tired usually isn't the wood giving out — it's that one side got the full afternoon sun and another stayed damp in the shade, and they aged at different speeds. Grade the fence face by face, weight the pigment to the sun each run takes, kill the mildew on the shaded side, and the whole thing reaches the next re-coat as one fence — not a patchwork of silver and chalk. That's the job here: read the exposure, then lay a finish that wears by fading, so the next coat is a wash-and-recoat rather than a scrape-and-start-over.

1

One fence, four microclimates

Your backyard fence doesn't weather as a single wall — the south and west faces bake in the afternoon sun and bleach, the shaded north run stays damp and grays with mildew, the east side ages slowest. We read all four at the estimate and match the coat to each, which is why an RKC run reaches its re-coat at one tone instead of two.

2

A finish that fades, never peels

The biggest choice on a Blue Springs fence isn't the color — it's penetrating versus film. A penetrating semi-transparent soaks into the grain and wears by fading, so re-coating is a wash and a fresh coat. A solid film sits on the surface, looks sharp a season, then peels under freeze-thaw and has to be scraped. Everything we lay here penetrates, so the fence never reaches the scrape-it-off stage.

3

The gray usually isn't the wood giving up

Most calls off the established 80s-and-90s streets come in as "my fence is shot." It rarely is. The silver-gray is a shallow weathered layer over sound cedar, fixable without replacing a board. We brighten it back and lay one penetrating coat. The one real exception is rot down at the wet-pocket ground line, which we probe for and call honestly before you spend a dollar on finish.

4

Still one tone at year five

The five-year mark is the tell: a Blue Springs run either still looks like one fence or it's blotched into sun-faded and silver-green patches. Staying on the right side of that comes from three things — a penetrating product that fades rather than lifts, pigment weighted to the faces that bleach, and a two-year rhythm that re-evens the tone before the sunny runs get out ahead. The fences we've kept on schedule since 2021 still carry a single, deliberate finish, and each coat lines up because it's written down.

BLUE SPRINGS LOCAL CONDITIONS

Why a Blue Springs Fence Ages Unevenly

Three local factors shape stain work in Blue Springs: a fence's four faces each weather in their own microclimate, the wet pockets that keep some ground lines damp, and whole subdivisions of cedar hitting the re-stain wall at the same time. This is a market where a silver-green shaded run and a chalked-out sunny one can be the same fence — and where the bottom foot over an underground spring needs a probe before anything else. Same crew, same standard on all of it: read each face, level the surface, weight the coat to the sun.

1

One fence, four different climates

A Blue Springs backyard fence doesn't weather as a single object — each of its four sides lives in its own microclimate. The south and west runs that face the street take the full afternoon sun and bleach; the north run tucked behind the house barely sees light but stays damp and grows mildew; the east side ages slowest of all. That's why a run so often reads two-toned by year four, sun-faded on one leg and silver-green on another. We grade the fence face by face at the estimate and weight the product to match — deeper pigment where the sun is worst, a mildew-killing wash where the shade holds moisture.

2

The wet pockets change the ground-line rule

Blue Springs earned its name honestly — there are underground springs and 'wet pockets' scattered through town, and yards over them hold groundwater high enough to keep the bottom foot of a fence damp long after the rest has dried. That splash-and-wick zone is where boards darken and, left alone, where rot starts. So before we ever open a can we probe the bottom rail and the first foot of pickets on any low-lying run; a coat over already-soft fiber is money thrown away. Where the wood's still sound, sealing that ground line well is what buys it the extra years.

3

A whole subdivision aging at once

Much of Blue Springs cedar went up in the same two waves — the 80s and 90s established neighborhoods, and now the Adams Dairy expansion — which means whole streets hit the re-stain wall together. On the older runs that shows as widespread graying that a good restoration brings back; on the new builds it means getting the first system on before that first hard summer sets the aging pattern. We work both ends of that timeline the same week, and log every job so the re-coat reminders come from us instead of the fence quietly getting away from you.

The Blue Springs streets we've stained and brought fences back on run from the established Copper Leaf, Brittany Ridge, and Pebble Creek neighborhoods out to the newer Adams Dairy Landing and Chapman Farms builds near Adams Dairy Parkway — cedar privacy, treated pine, board-on-board shadow box, mixed material. Each gets the same face-by-face grading up front, the same mildew-kill on the shaded runs, the same ground-line probe in the wet-pocket soil, and the same matched penetrating coat to close. A fence another company built earns the identical treatment — sound wood, honest prep, and pigment matched to the sun have never cared whose truck showed up on install day.

READING THE EXPOSURE

The Blue Springs Fence Exposure Map — Which Face Fails First

Before the color, the thing that decides how a Blue Springs fence ages is which way each run faces and what weather it takes — the sun-struck faces, the damp shaded ones, and the wet ground line each need a different answer. Here's how each part of a fence weathers around here, how fast it goes, and where it lands on the re-coat priority list. The map is why we don't lay one identical pass on every side — the fence in front of us decides the pigment weighting, run by run.

Face / part of the fence What the weather does there How it goes Re-coat priority
South & west faces (open street side) Full Missouri afternoon sun — the hardest UV load on the property, hitting the pickets that face the road and the neighbors Fades first Highest — deep pigment
North faces (behind the house, shaded) Little direct sun but slow to dry after rain — mildew and green film set in on the damp, cool side long before UV touches it Grays via mildew High — wash + mildew kill
East faces (morning sun) Gentle early light, dry by mid-day, spared the brutal afternoon hours — the run that ages most evenly of the four Wears slowest Lowest — routine re-coat
Bottom 12 inches (ground line) Rain splash-back, mower throw, and the groundwater that pools in Blue Springs' wet pockets — the zone where a soft-spot check matters Darkens, can rot Probe before you coat
Top rail & post caps Standing water sits on the flat end-grain and the full sky bakes it — where a run first checks and splits open Cracks / checks Seal the end-grain
Gates & high-touch runs Hand oils, latch hardware, the dog leaning on it — mechanical wear the rest of the fence never sees Wears through early Spot re-coat as needed

The line that runs down the map: a fence weathers by face, so it should be coated by face — deep pigment where the sun is worst, a mildew wash where the shade holds damp, a probe where the ground stays wet. Lay one identical pass on all four and you're two-toned again in two summers. Want us to walk your fence side by side? A free staining walk reads each run and brings the sample boards, or start with a new Blue Springs wood fence from the same crew that will finish it.

STAIN SERVICES

First Coats, Re-Stains & Gray-Fence Restoration — Every Blue Springs Scenario

The scope your Blue Springs fence lands in comes straight out of the read — raw new cedar awaiting its opening system, cedar ready for a matched re-coat, treated pine ticking on its 3-year clock, or a weathered 1990s run that needs stripping and bringing back. Below are the four we run across Blue Springs, what each one suits, and honest per-foot numbers. You can swap colors inside any scope; what stays fixed is the sequence — read the exposure, level the surface, lay a matched penetrating coat with pigment weighted to the sun, all by our own crew.

New-Install First-Coat Stain by RKC Wood Care Pros in Blue Springs, MO

New-Install First-Coat Stain

The opening system on every RKC Blue Springs build

The coat that decides how a Blue Springs fence handles its first summer — and out in the Adams Dairy expansion, where whole streets of new cedar go up at once, it's the coat that keeps your run from graying a season ahead of the neighbor's. Fresh cedar needs roughly four weeks for the internal moisture to fall far enough that a penetrating finish keys into the grain instead of beading off; treated pine takes closer to a season. We settle the deep-pigment-or-natural call at install week, weighting it toward the south and west faces that take the worst of the sun. Plenty of our cedar packages fold this first coat into the install price — worth asking Josh when he walks it.

  • Price: $3–6 / LF · typically $450–900 per 150 LF
  • Typical use: New cedar in the Adams Dairy and Chapman Farms builds, the opening coat after any RKC install, locking the finish in from week one
Existing Cedar Re-Stain by RKC Wood Care Pros in Blue Springs, MO

Existing Cedar Re-Stain

The 2-year cycle · the everyday Blue Springs call

The coat that keeps cedar reading like cedar instead of drifting to the silver you see creeping across the 1990s runs all over Blue Springs. On schedule it's a soft wash to lift oxidation and mildew — heaviest on the shaded north faces here — a meter check for the dry window, then the matched color driven back into both sides of the run. Because we weight the pigment toward the sun-struck faces and log your exact product the day we finish, the re-coat pulls the same can off the shelf and the whole fence lands as one tone. Your next date goes on the invoice before the crew rolls out.

  • Price: $4–8 / LF · typically $600–1,200 per 150 LF
  • Typical use: Aging Copper Leaf and Brittany Ridge cedar, straight color refreshes, evening out a run gone two-tone from uneven sun
Pressure-Treated Pine Re-Stain by RKC Wood Care Pros in Blue Springs, MO

Pressure-Treated Pine Re-Stain

90-day first coat, 3-year cycle after

Pine runs on its own clock and wants its own product. The factory treatment has to fully cure before a finish will bite — about three months out from a new install — and then it calls for an oil-based semi-transparent that penetrates the dense treated fiber where a waterborne would only skin over. Any board still tinged green or blackened gets a brightener first so the color doesn't blotch. This is the scope we see most on the longer boundary runs and the value builds on the older east side of Blue Springs.

  • Price: $3–7 / LF · typically $450–1,050 per 150 LF
  • Typical use: Treated-pine boundary and utility runs, bigger perimeters, economy installs carried over from other builders
Gray-Fence Restoration by RKC Wood Care Pros in Blue Springs, MO

Gray-Fence Restoration

Bringing weathered 1990s Blue Springs cedar back

This is the call off the established 80s-and-90s neighborhoods, where a fence has gone silver on the shaded side and chalky on the sunny one because it hasn't been sealed in years. That gray is usually a thin weathered skin over cedar that's still sound underneath, not a fence at the end of its life. Any failed film gets stripped rather than painted over; the whole run takes an oxalic brightener to a single even tone, several wash passes, a hard dry, a meter check, then one honest penetrating coat that pulls it back to looking like one fence. If a probe sinks into soft fiber down at the wet-pocket ground line, we halt and replace those boards first — stain never goes over rot.

  • Price: $6–12 / LF · typically $900–1,800 per 150 LF
  • Typical use: Silvered cedar on Pebble Creek and the older east-side streets, homes just changed hands, runs a former owner never sealed

Exposure-mapped cedar fence stain pricing — Blue Springs, MO — RKC Wood Care Pros

BLUE SPRINGS STAIN PRICING

What Fence Staining Costs in Blue Springs

What a Blue Springs job costs rides on the prep, not the product — a fence caught on its cycle runs a fraction of one that's silvered on the shady side, chalked on the sunny one, and soft at a wet-pocket ground line. Each quote folds in the wash, the mildew kill, the metered dry window, the matched penetrating family with pigment weighted to the sun, the spray-and-back-brush pass by our own two-person crew, and a written date for the next coat. The three setups we price most often for Blue Springs homes are below.

Cedar Re-Stain

$4–8 / LF

wash + penetrating stain

Soft wash, a mildew kill on the shaded runs, a meter check for the dry window, the matched color driven into both faces with pigment weighted to the sun side, and your next date in writing. Most 150 LF Blue Springs cedar privacy runs settle near $600–1,200.

Pressure-Treated Re-Stain

$3–7 / LF

brighten + oil stain

Wash, brightener on the green and blackened patches, then the oil-based semi-transparent that bites into treated fiber, with the 3-year mark logged. A 150 LF Blue Springs pine run generally lands at $450–1,050.

Gray-Fence Restoration

$6–12 / LF

strip · brighten · stain

Failed finish taken off, the silvered boards leveled with an oxalic brightener, repeated wash passes, a ground-line soft-spot probe, then a single penetrating coat. Quoted from an on-site look — a weathered 150 LF Blue Springs run is usually $900–1,800.

Restoration on a weathered run (strip + oxalic brighten to one baseline + repeated wash cycles + a ground-line probe + stain) gets its number after an on-site look at how far the gray has gone — that look is exactly what stops you paying restoration rates on a fence that only wanted a routine re-coat. Every Blue Springs estimate is free, written, and itemized — call (913) 286-1091 or set up a walk. While the crew's on site they can flag any Blue Springs fence repair the wet-pocket ground line needs before staining earns its keep — one trip, same hands.

OUR STAIN PROCESS

How a Blue Springs Stain Job Comes Together

Four steps from the phone call to the final walk. Most Blue Springs stain jobs span 2 to 4 days — but only one of them is stain day. The stain itself is usually a single day on site for a standard run. The rest of the clock is the face-by-face read, the wash-mildew-brighten-dry cycle that gets the surface ready, and the ground-line probe before any of it. Here's what each step looks like on a Blue Springs fence.

1

Walk each face, meter it, probe the ground line

Step one is reading the fence side by side rather than as one wall: which faces have bleached, which have gone silver-green in the shade, and whether the bottom foot on any low run has stayed wet enough to soften. Josh or a lead measures the footage, takes moisture readings on the slowest-drying section, and probes the ground line in the wet-pocket areas. That read decides the pigment weighting and flags any board that needs replacing before finish. Estimate's free and itemized, and we brush a tone sample on a hidden board so you judge color on your own wood.

2

Wash the sun off, kill the mildew, dry it hard

This is the stage most crews shortcut and it's the one that decides how the coat holds. The sun-faded faces get a wash that lifts the chalked-out old finish; the shaded north runs get a mildew-killing wash that pulls the green and gray. Any board silvered past a simple wash takes an oxalic brightener back to a true tone. Because Blue Springs runs dry unevenly — sunny leg quick, shaded leg slow, wet-pocket bottom slowest of all — the meter goes back on the wettest section and nothing opens until it reads ready. A coat won't hold over damp wood or living mildew.

3

Match the color, weight the pigment, spray and back-brush

Surface clean and dry, we load the matched family and put it on the one way that works: a sprayer moving the finish, a second hand right behind back-brushing it into the grain before it sets. On a Blue Springs fence we deliberately carry a touch more pigment onto the south and west faces that bleach first, so the whole run reaches the next re-coat at one tone instead of the sunny side lightening out ahead. That spray-and-brush pair is also what keeps an even face from the shaded low corner up to the sunlit top rail.

4

Walk it together, then log the fence face by face

Last is your eyes alongside ours — a full pass catching any board that reads thin or skipped, touched in on the spot before we sign off. Then the finish lands on your file: the date, the product family, the exact color, the footage, which faces got the deeper pigment, and when the next coat is due — two years for cedar, three for pine. That record is why your re-coat matches instead of going patchy, and why the reminder comes from us when the sunny side starts to tell on itself rather than slipping past you.

RECENT BLUE SPRINGS STAIN JOBS

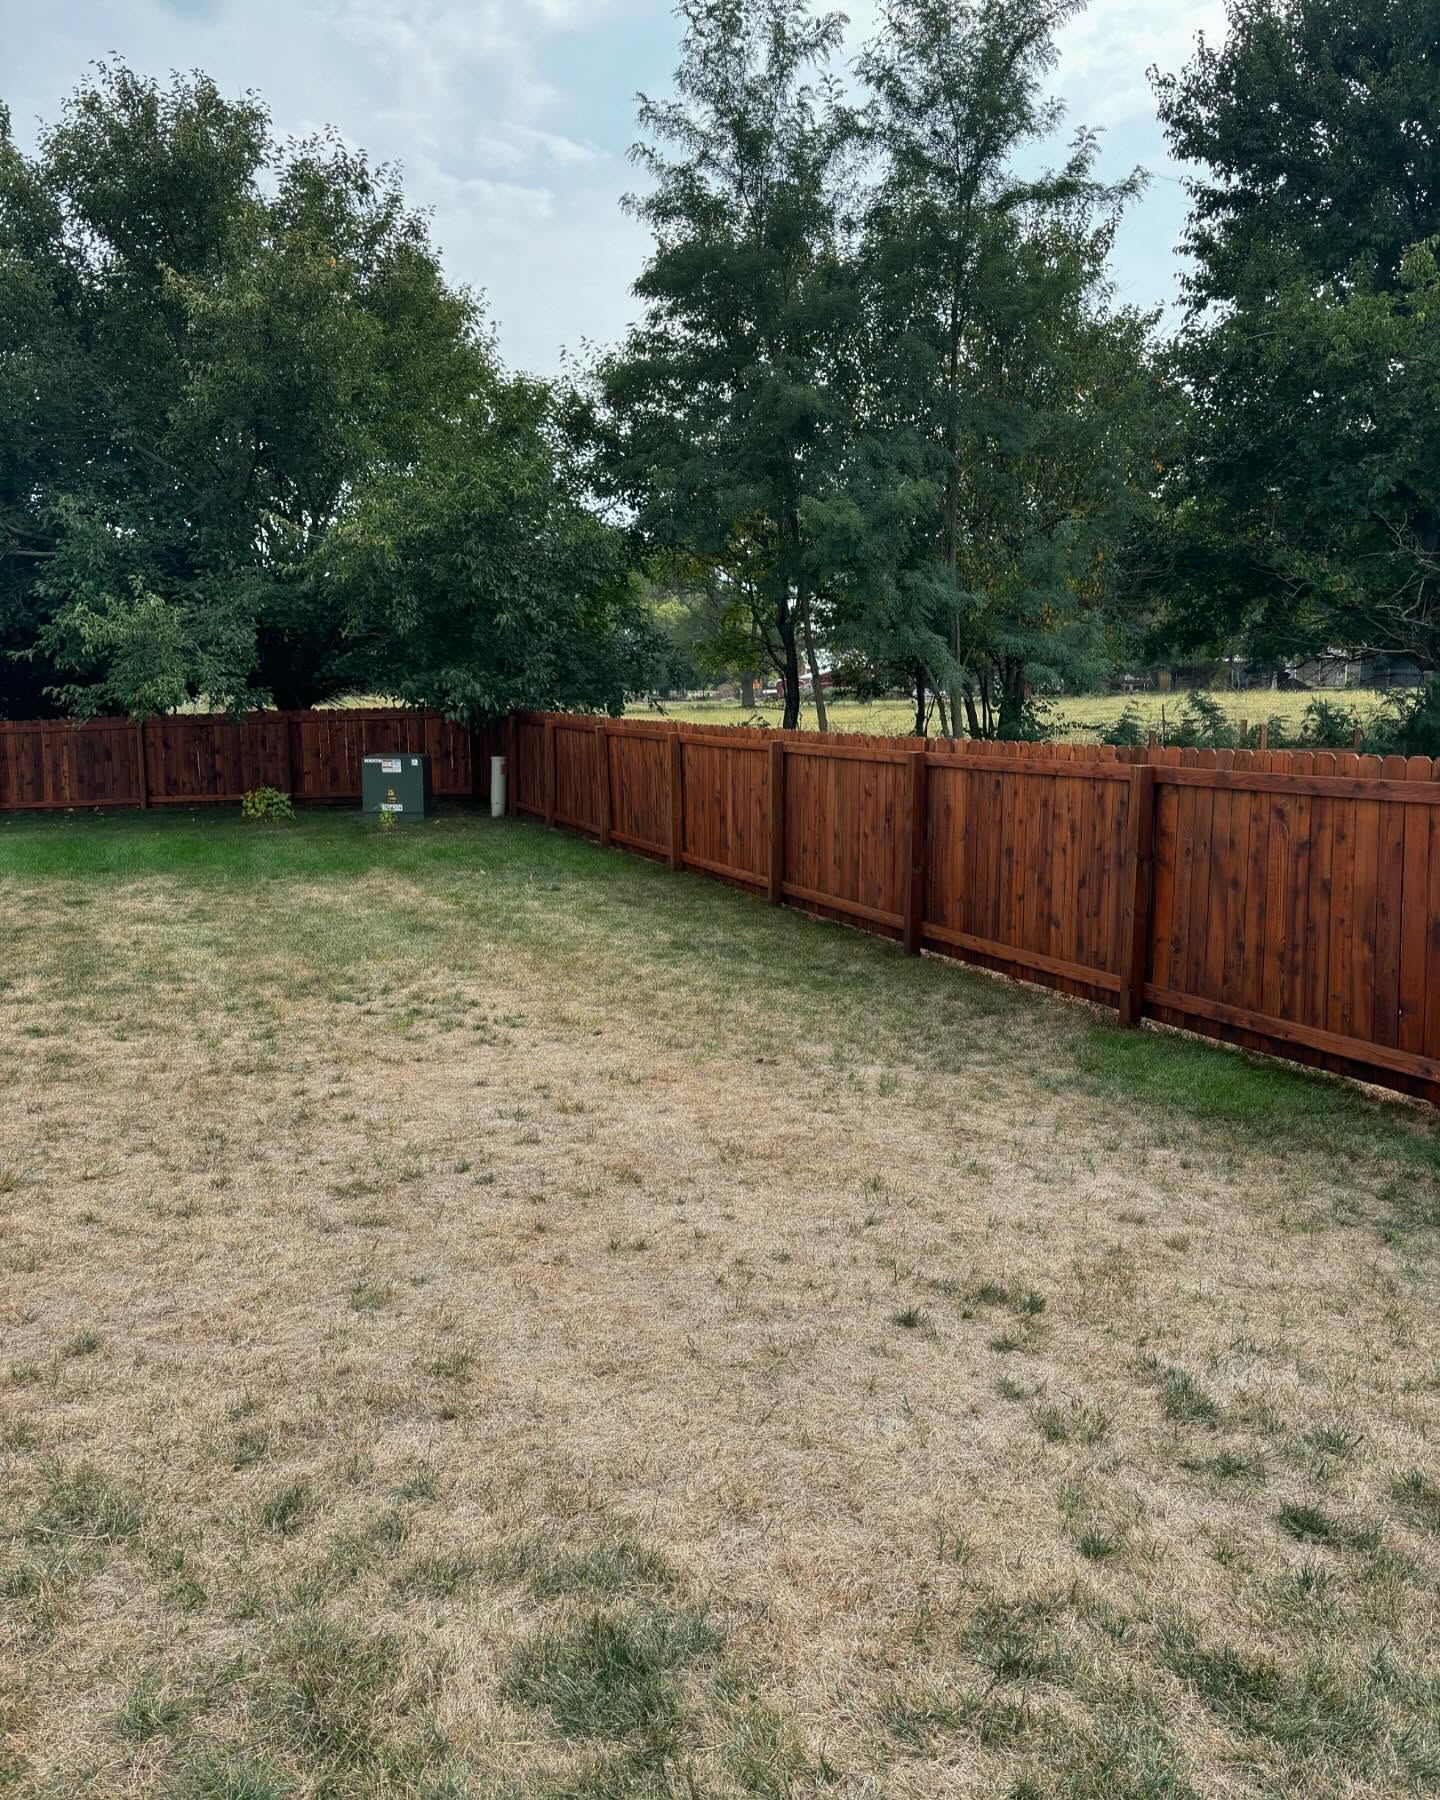
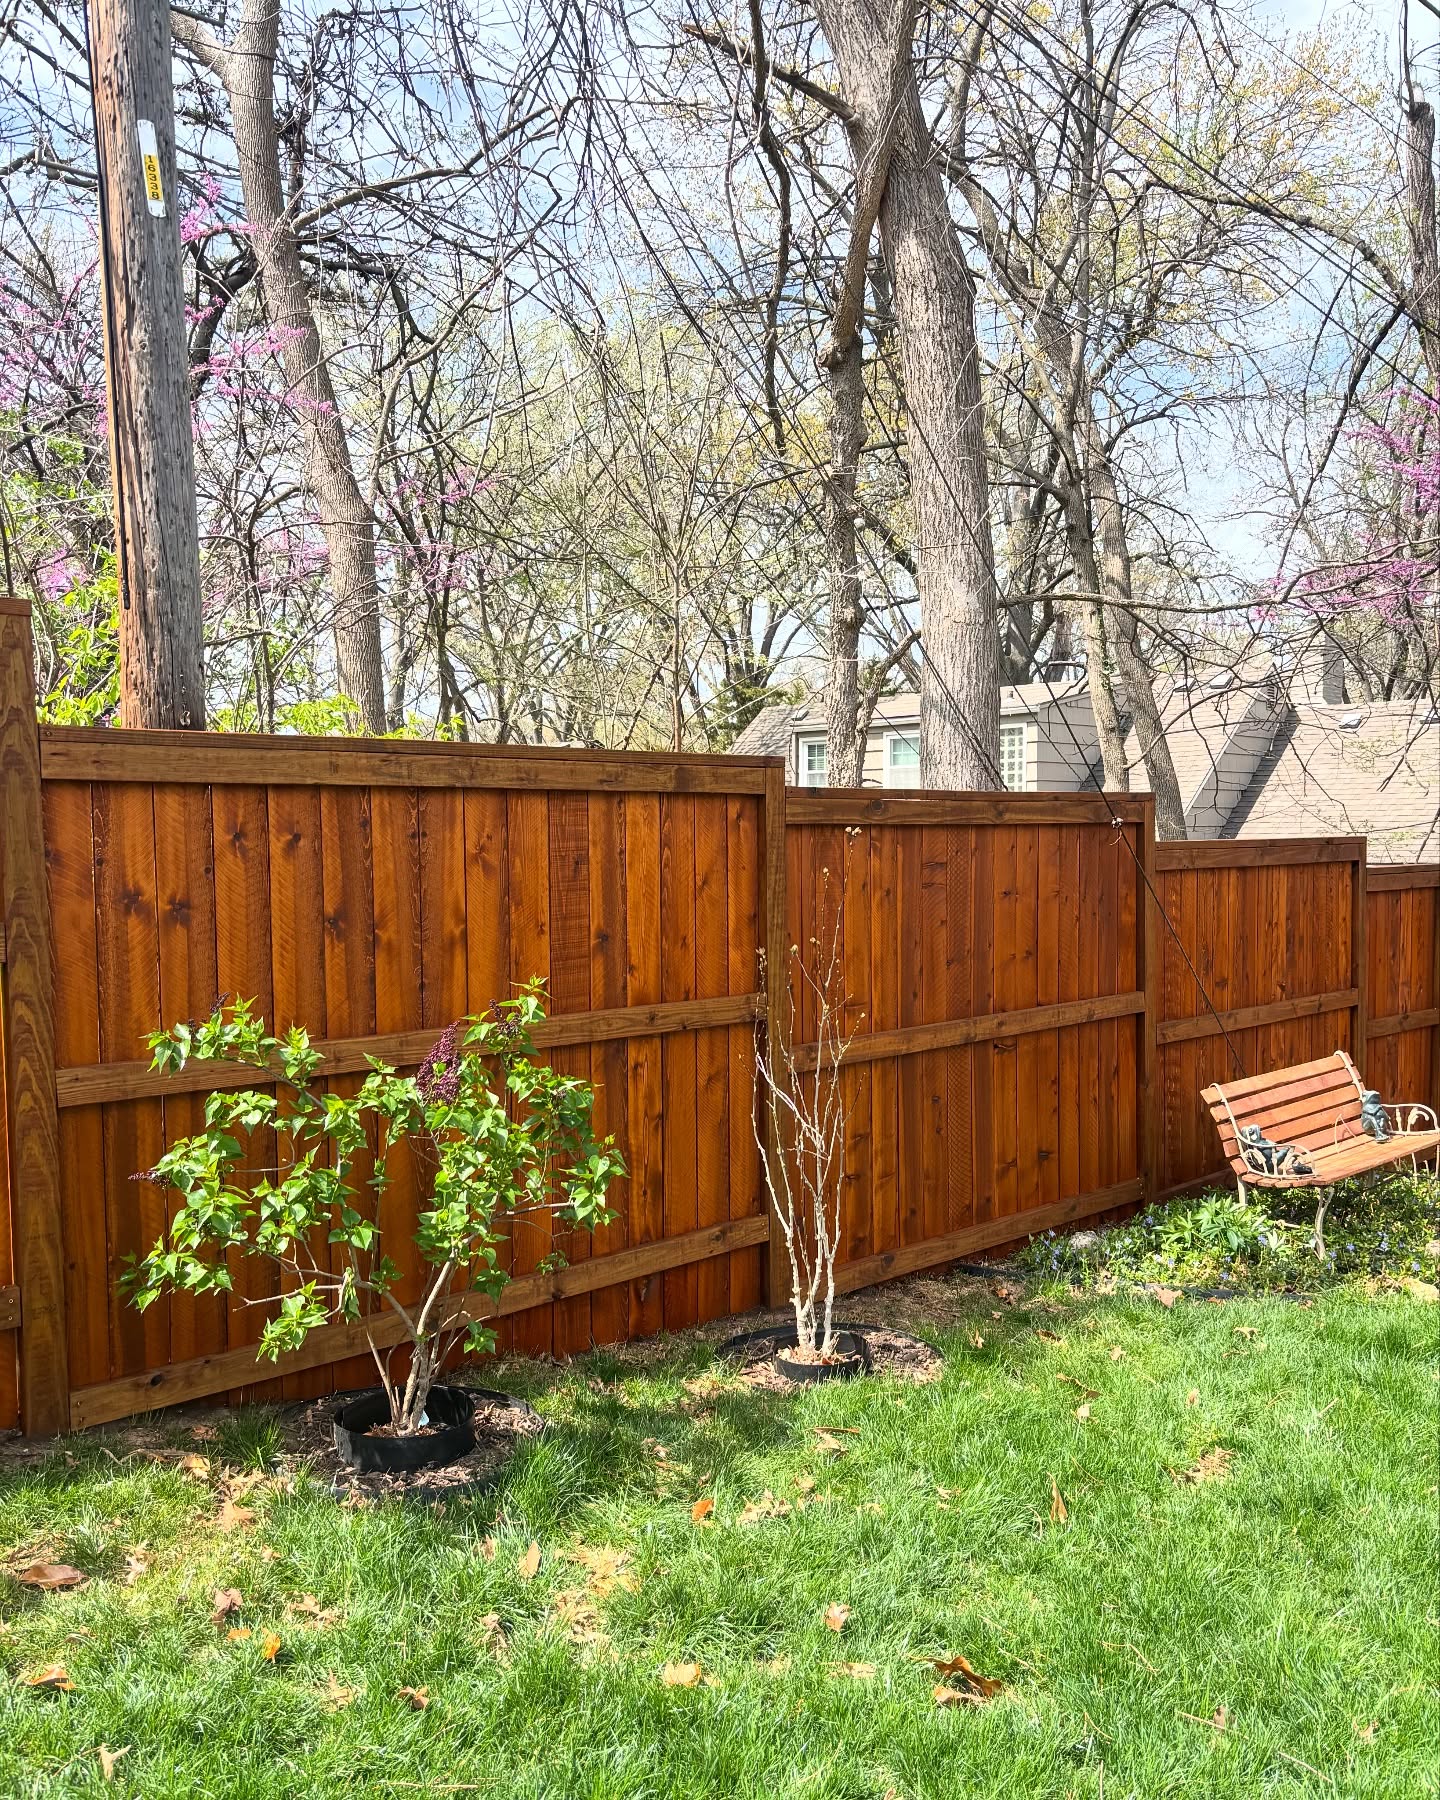
Cedar dog-ear re-stain in rich mahogany in Blue Springs, MO by RKC Wood Care Pros
Cedar Re-Stain · Blue Springs
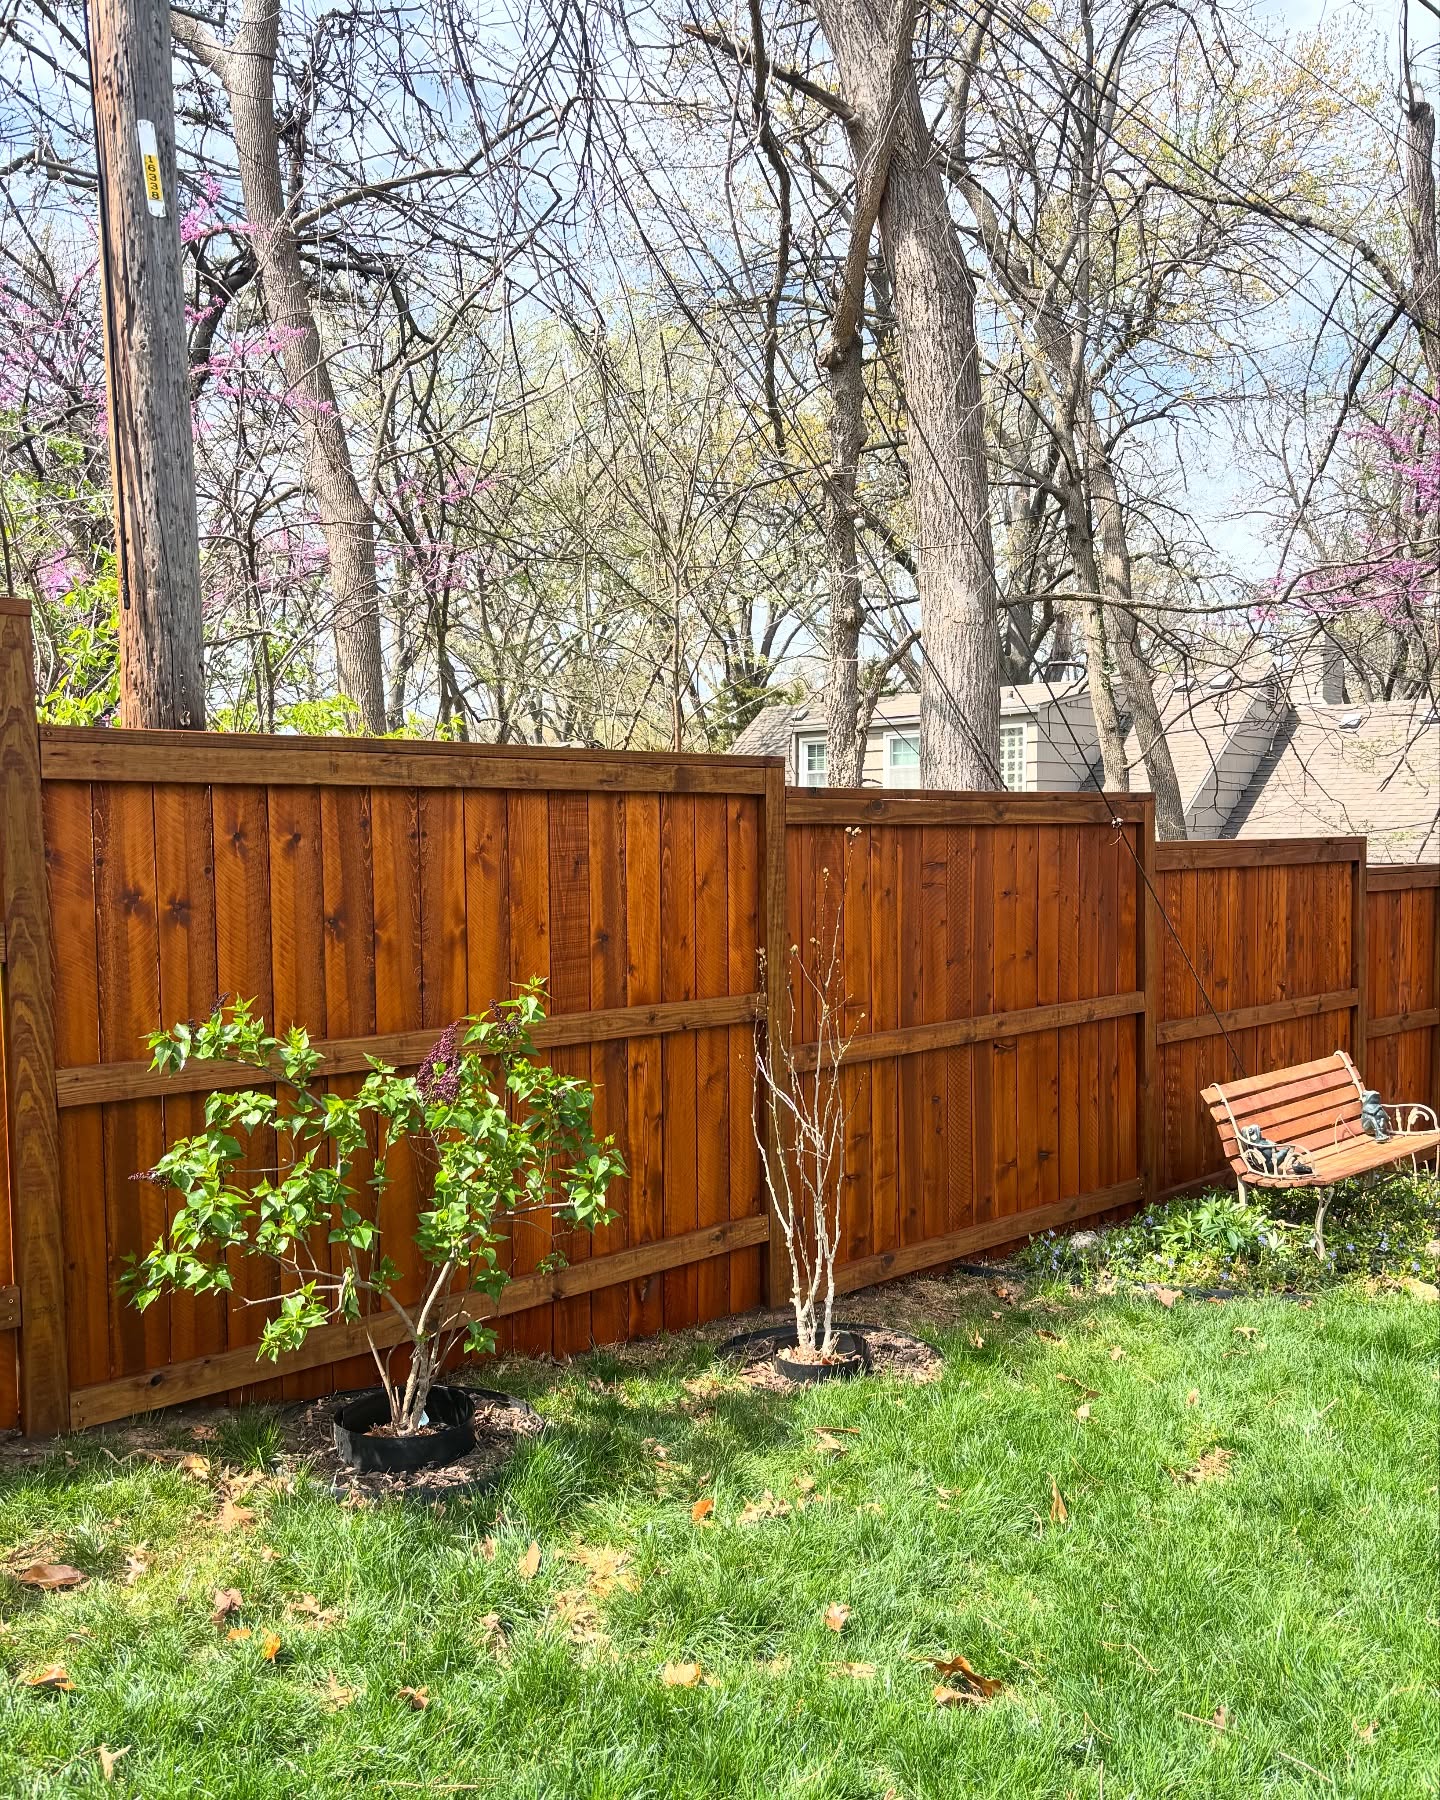
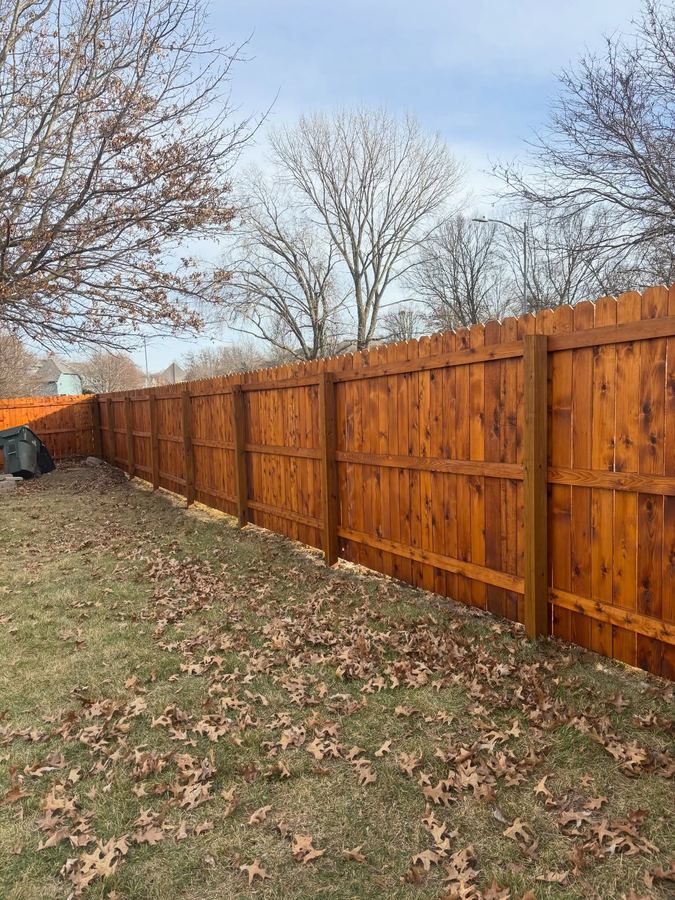
Freshly stained cedar first coat in Blue Springs, MO
First Coat · Blue Springs
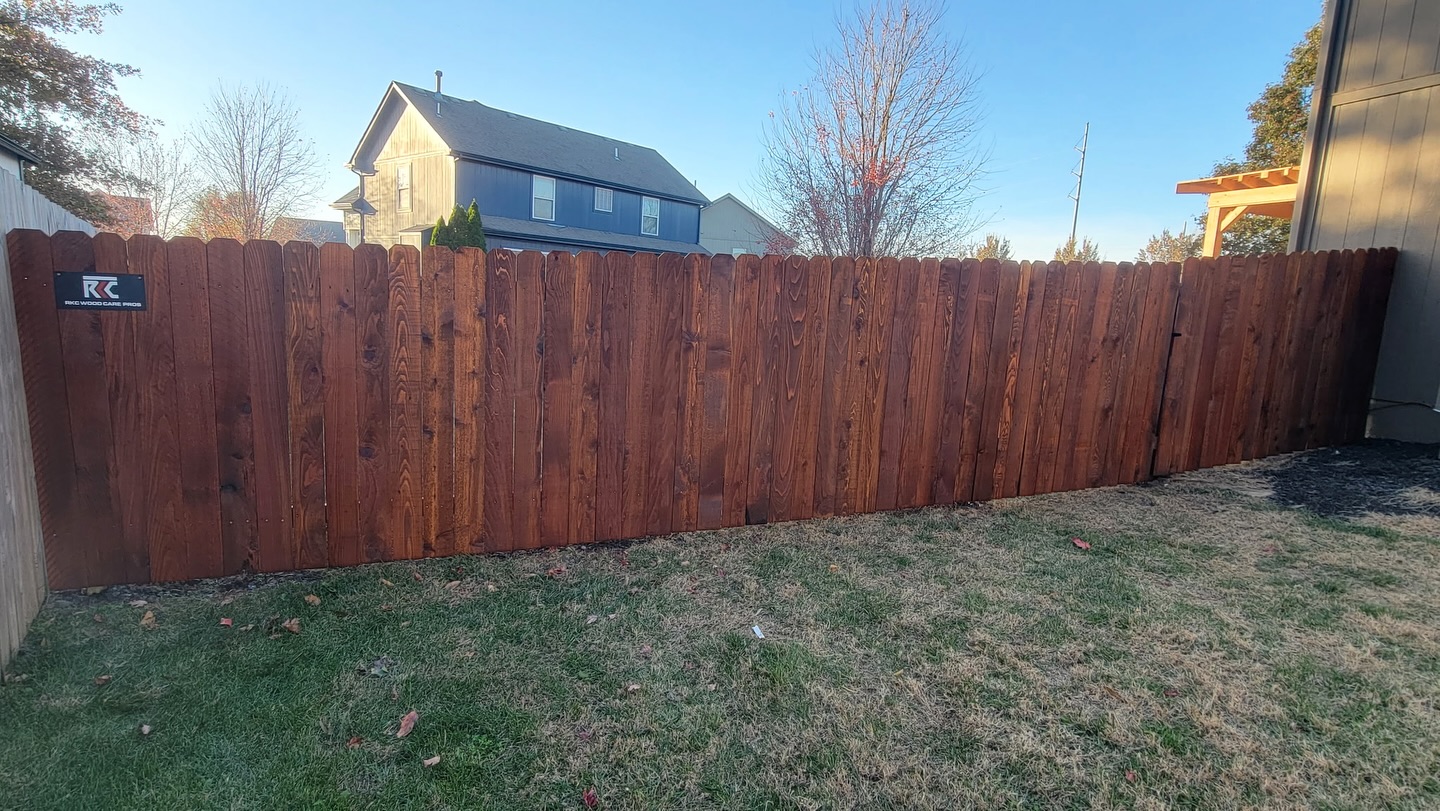
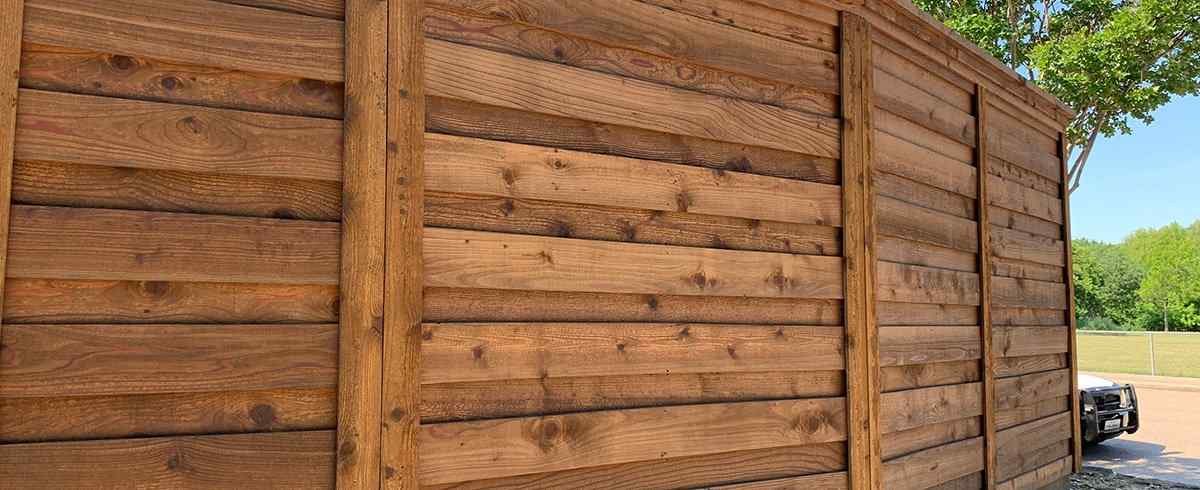
Pressure-treated pine re-stain in Blue Springs, MO
PT Re-Stain · Blue Springs
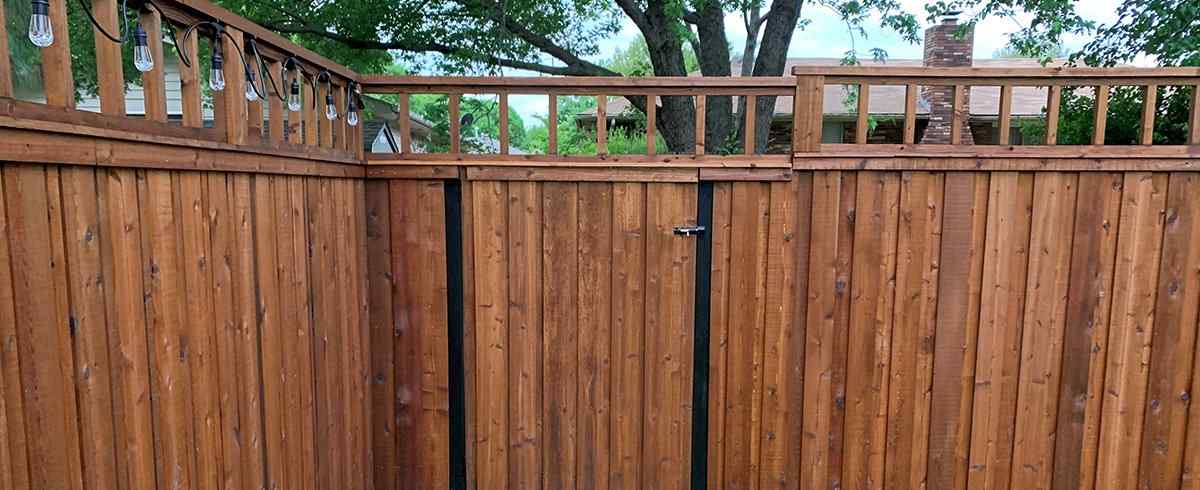
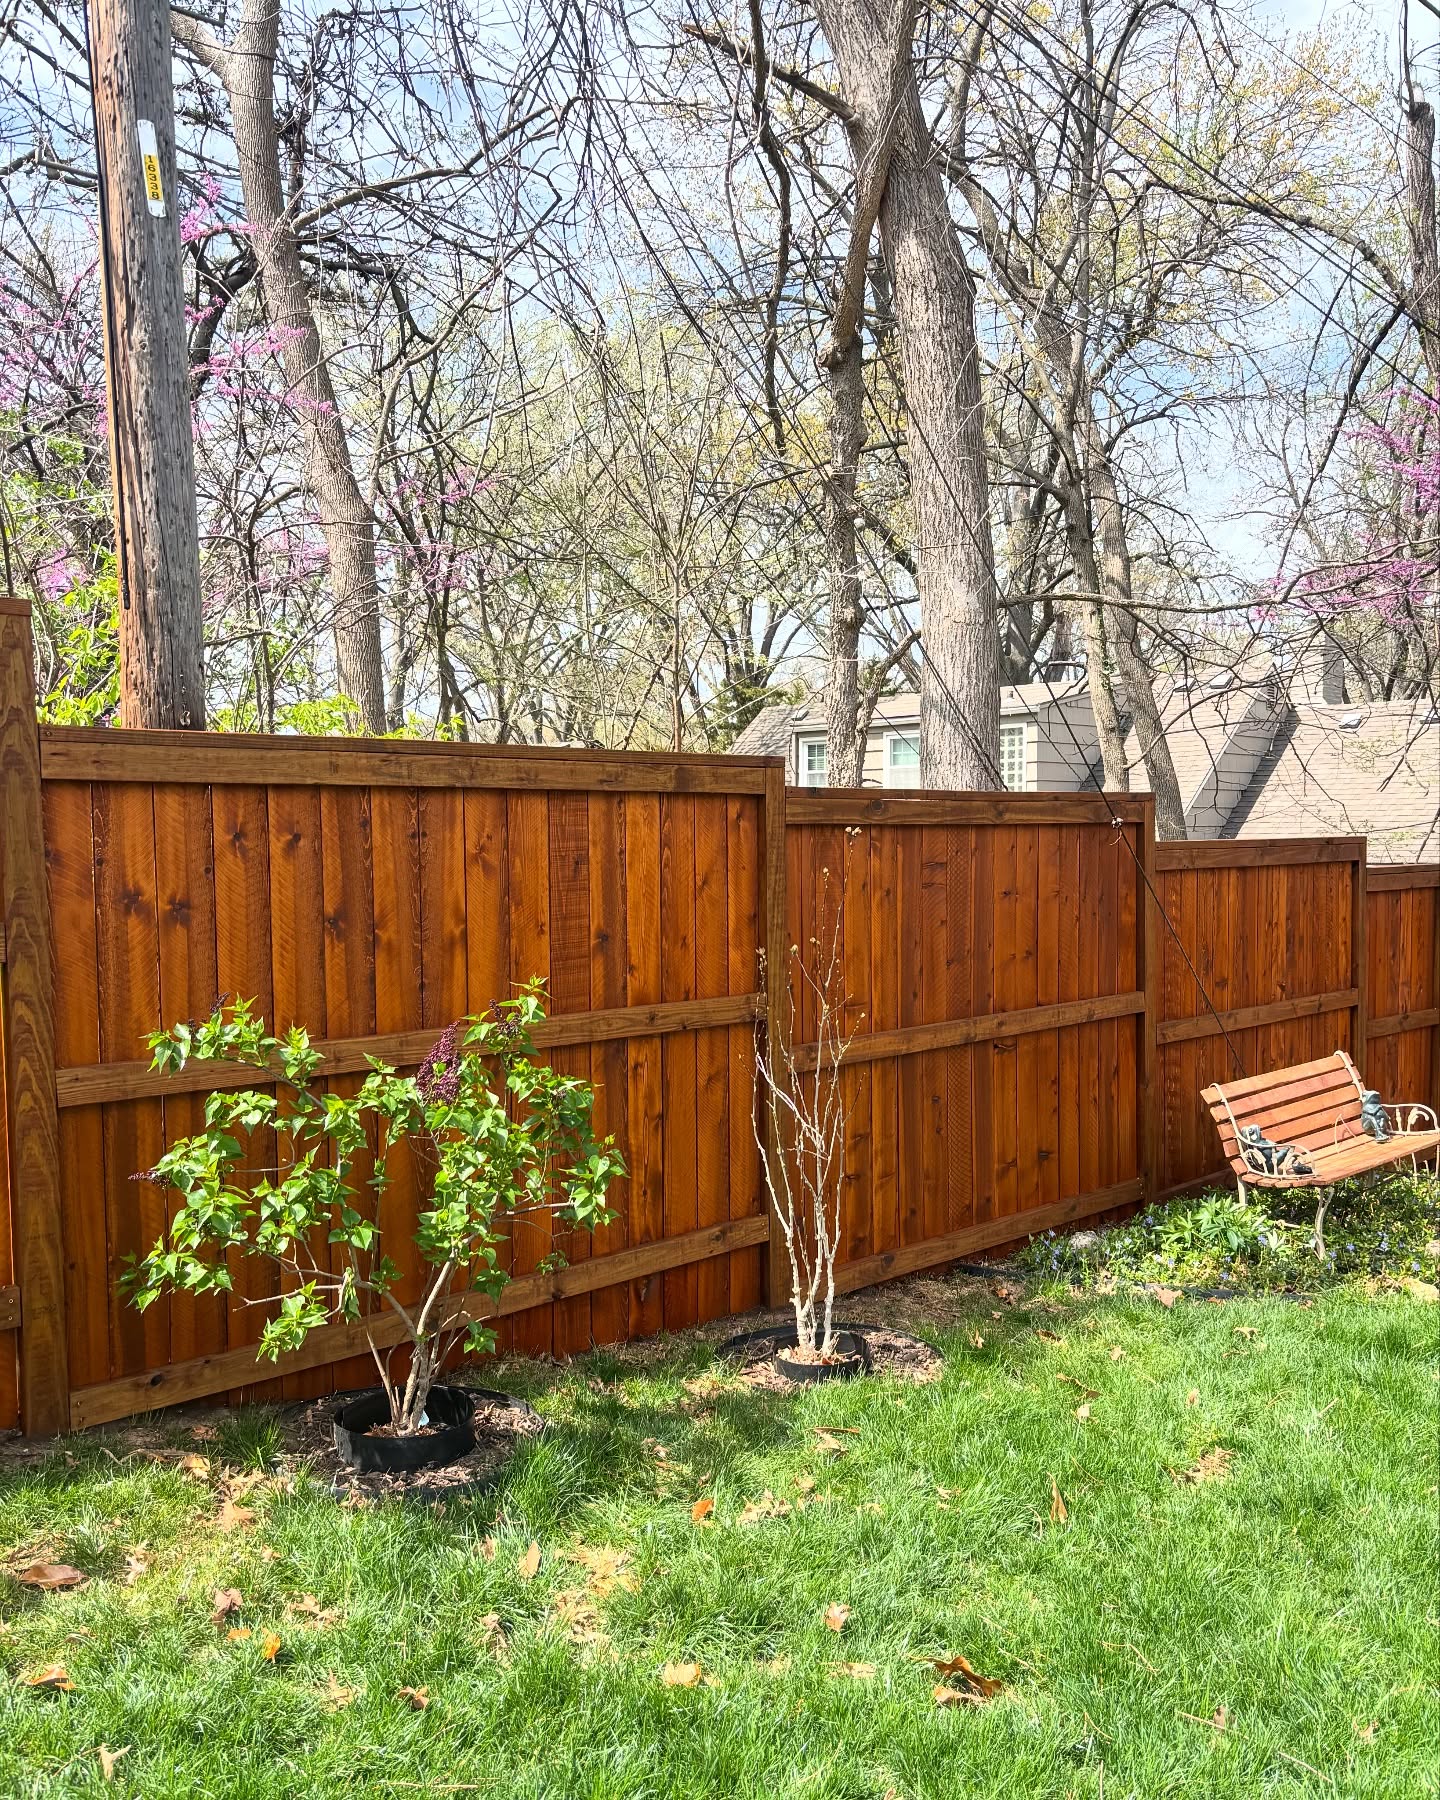
Gray-fence restoration brought back to a rich finish in Blue Springs, MO
Gray-Fence Restoration · Blue Springs

REVIEWS

What Kansas City Homeowners Say About RKC

4.9 ★ · 85 Google reviews

Every review is on our Google Business Profile — read them there, unedited.

Read all 85 reviews on Google

BLUE SPRINGS STAIN QUESTIONS

Stain Questions Blue Springs Homeowners Ask Most

Three questions decide most Blue Springs stain jobs: why the fence went two-tone, when the coat should go on, and whether a silvered run with a soft bottom can be saved instead of torn out. These are the ones Blue Springs homeowners raise at the estimate — sorted by topic, each answer tied to the exposure map, the wet-pocket ground line, and the mildew that sets in on the shaded side. Don't see yours? Call (913) 286-1091 and ask.

Blue Springs, MO fence staining by RKC Wood Care Pros

Uneven Fading & Exposure

Why is one side of my Blue Springs fence gray and the other still looks fine?
Because the two sides live in different weather. The south and west faces that catch the full Missouri afternoon sun bleach and chalk first — that's UV burning the pigment off. The north face tucked in the shade barely sees sun but stays damp and cool, so it grays a different way, through mildew and oxidation. East faces age slowest. By year four a lot of Blue Springs runs read two-toned for exactly this reason. The fix isn't one blanket coat — it's weighting deeper pigment onto the sun-struck faces and running a mildew-killing wash on the shaded ones, so the whole fence reaches the next re-coat at one tone. The exposure map above lays out which face does what.
Can you even out a fence that's already gone two-tone?
Yes — that's a big share of what a re-stain is here. We brighten the whole run to a common baseline first with an oxalic wash, killing the mildew on the shaded legs and lifting the chalk off the sunny ones, so we're laying color over one even surface instead of chasing a patchwork. Then a single matched family goes over all of it, with a little extra pigment carried onto the faces that bleached, so it levels out and stays level longer. Matching a finish we didn't apply takes a test square, but we get it close before the full run goes on.
Should the sunny and shady sides get the same stain?
Same color, but not the same amount of pigment. Running one identical pass on every face is exactly what leaves you two-toned again a couple summers later, because the south and west runs burn through pigment far faster than the shaded north side. We keep the color consistent so the fence reads as one fence, but we carry the coat a touch heavier where the sun is hardest. It's a small application difference that buys you an even-looking run for the full two-year cycle instead of half of it.

Timing & Schedule

When should a new Blue Springs cedar fence get its first coat?
About 30 days after install for cedar — that window lets the internal moisture fall so a penetrating finish keys into the grain instead of beading on top. Pressure-treated pine runs closer to 90 days, because the factory treatment has to cure first. This matters more in Blue Springs than most places: out in the Adams Dairy builds whole streets of new cedar go up together, and the fences that get sealed on time hold their color years ahead of the ones left bare through a summer. Every RKC install here leaves with that first-coat date on the invoice, and we schedule it.
Is late summer really the best time to stain around here?
It's a popular window for good reason — a coat laid down in late summer heads into the wet Missouri winter already sealed, which is when an unprotected fence takes its worst beating from freeze-thaw and standing snow. That said, the calendar matters less than the moisture. We stain when the wood reads dry on the meter, not on a fixed date, so a dry stretch in late spring or early fall works just as well. What we won't do is coat over a fence that's still holding water from a recent rain, whatever the season says.

Prep, Rot & Restoration

My fence is gray and the bottom looks soft — is it too far gone?
The gray usually isn't the problem; the soft bottom might be. On the older Blue Springs streets a silver, blotchy fence is almost always a weathered skin over sound cedar, and we brighten it back with no trouble. The bottom foot is the honest question — in the low, wet-pocket parts of town, groundwater keeps the ground line damp and can rot the base of the pickets and the bottom rail. So we probe there first. Where the wood's sound, we seal it well and it has years left. Where a probe sinks into soft fiber, we replace those boards before staining, because no finish saves wood that's already breaking down.
The shady side of my fence is green and slimy — will stain cover that?
Not if we just paint over it, no. That green is mildew and algae living on the surface, and stain laid on top of it won't bond — it'll flake off within a season and the growth keeps spreading underneath. The shaded north runs in Blue Springs are prone to it because they stay damp. The fix is a mildew-killing wash first to clear the growth down to clean wood, a full dry, then the coat. Done in that order it bonds properly and the mildew-resistant pigment slows the regrowth. Skipped, it's a coat you'll be redoing next year.

OTHER BLUE SPRINGS FENCE SERVICES

More Fence Services Available in Blue Springs

Each link below keeps you in Blue Springs — its own page, with pricing, conditions, and recent job photos tied to this city rather than the metro at large. Weighing a fresh install, a repair, a gate, or one specific material alongside the staining? Here's where each of those picks up.

Ready when you are

Get a free estimate — we usually respond the same day.

Call (913) 286-1091